0

Hercules - Pita Bread, Herculade, Hercola

Quick links: Pita Bread | Lime Herculade | Grape Herculade | Hercola | Verdict


Hercules was one of my favorite movies as a kid. The SNES game rocked too. Get out your dumbbells, cuz we’re going from Zero to Hero with the food from Disney’s Hercules!

Foods Shown

Street Cart Pitas

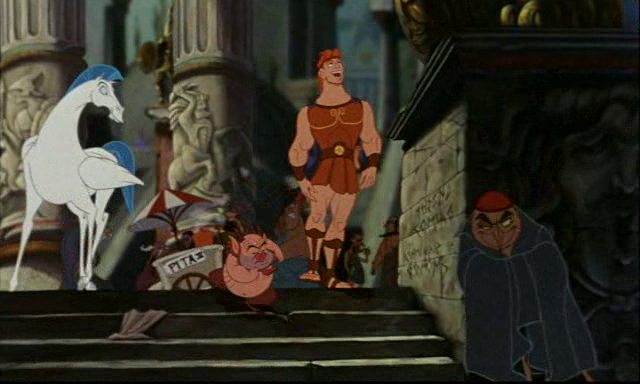
When Phil and Herc get to Thebes, you see a street vendor selling pitas in the background.
vlcsnap-2015-12-08-22h34m13s078

Turns out making your own pitas isn’t too hard, though it is a little time intensive.  We enjoyed our pitas afterward with salmon and tzatziki sauce.
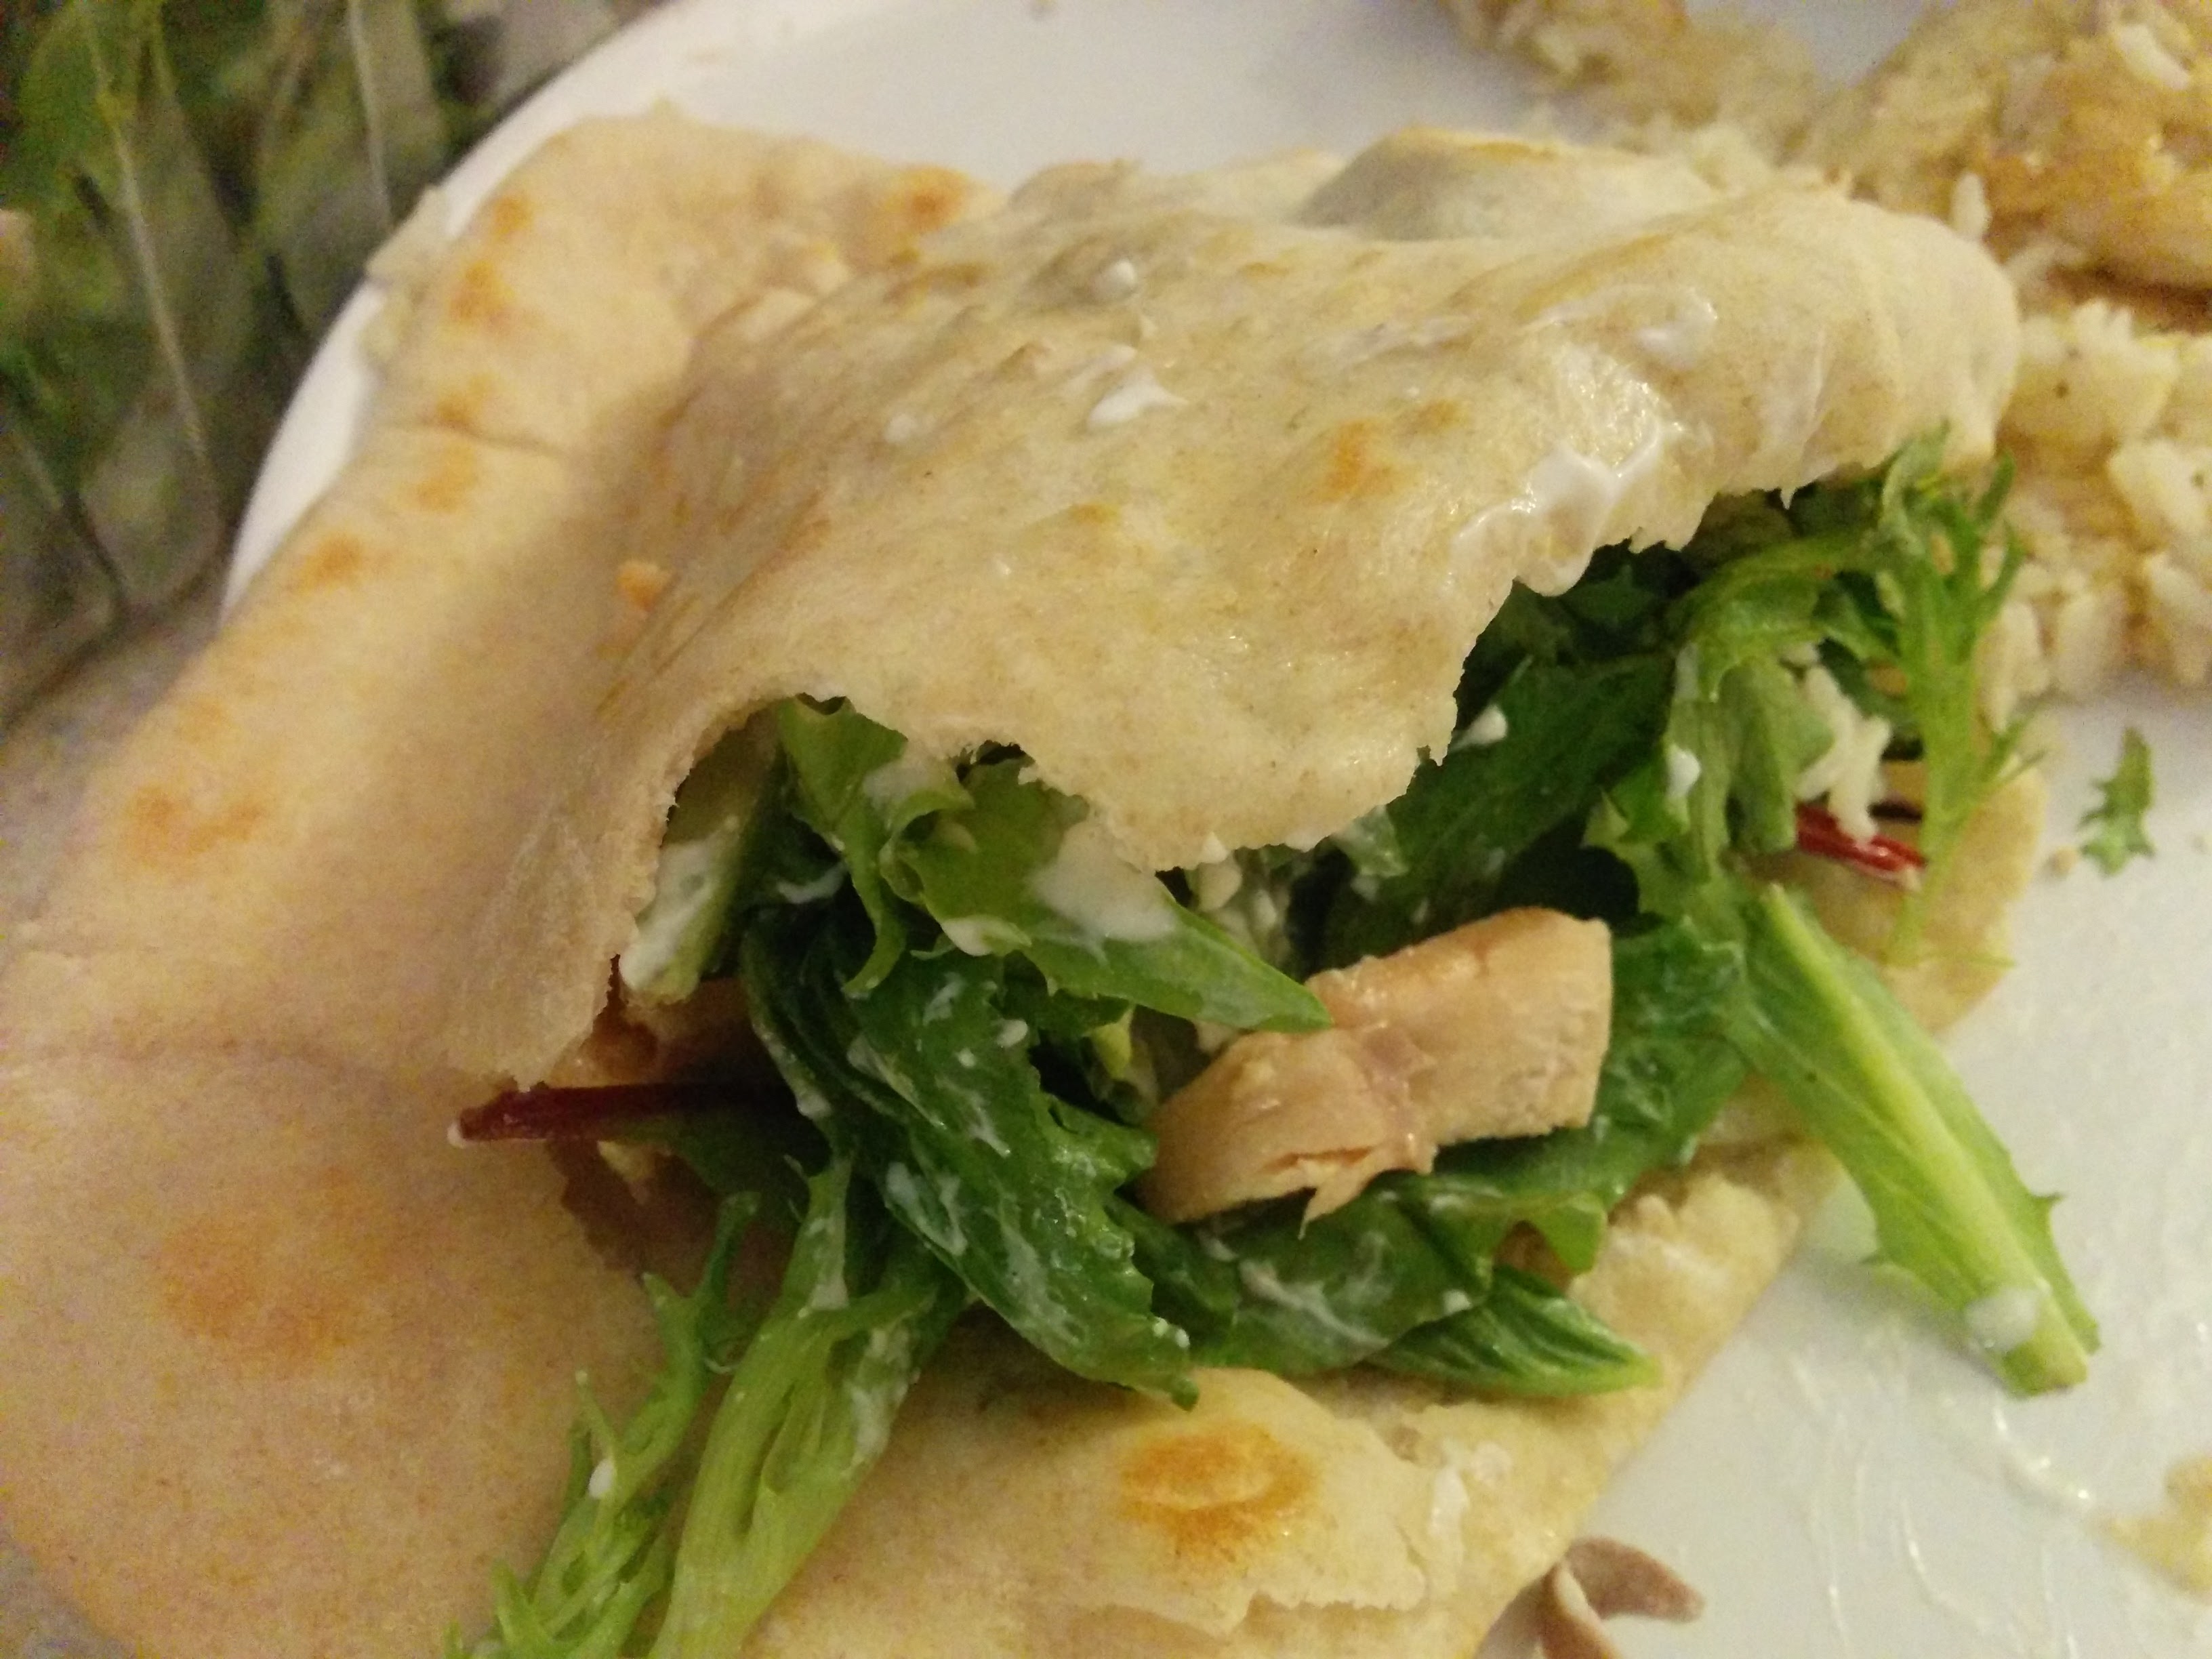
Street Car Pitas
Write a review
Print
Prep Time
2 hr
Cook Time
5 min
Total Time
2 hr 5 min
Prep Time
2 hr
Cook Time
5 min
Total Time
2 hr 5 min
Ingredients
  1. 2 teaspoons active dry yeast
  2. ½ teaspoon sugar
  3. 35 grams whole-wheat flour (1/4 cup), preferably freshly milled
  4. 310 grams unbleached all-purposed flour (2 1/2 cups)
  5. 1 teaspoon kosher salt
  6. 2 tablespoons olive oil
Instructions
  1. Make sponge: Put 1 cup lukewarm water in a large mixing bowl.
  2. Add yeast and sugar.
  3. Stir to dissolve.
  4. Add the whole-wheat flour and 1/4 cup all-purpose flour and whisk together.
  5. Put bowl in a warm (not hot) place, uncovered, until mixture is frothy and bubbling, about 15 minutes.
  6. Add salt, olive oil and nearly all remaining all-purpose flour (reserve 1/2 cup).
  7. With a wooden spoon or a pair of chopsticks, stir until mixture forms a shaggy mass.
  8. Dust with a little reserved flour, then knead in bowl for 1 minute, incorporating any stray bits of dry dough.
  9. Turn dough onto work surface. Knead lightly for 2 minutes, until smooth.
  10. Cover and let rest 10 minutes, then knead again for 2 minutes. Try not to add too much reserved flour; the dough should be soft and a bit moist. (At this point, dough may refrigerated in a large zippered plastic bag for several hours or overnight. Bring dough back to room temperature, knead into a ball and proceed with recipe.)
  11. Clean the mixing bowl and put dough back in it. Cover bowl tightly with plastic wrap, then cover with a towel. Put bowl in a warm (not hot) place. Leave until dough has doubled in size, about 1 hour.
  12. Heat oven to 475 degrees.
  13. On bottom shelf of oven, place a heavy-duty baking sheet, large cast-iron pan or ceramic baking tile.
  14. Punch down dough and divide into 8 pieces of equal size.
  15. Form each piece into a little ball. Place dough balls on work surface, cover with a damp towel and leave for 10 minutes.
  16. Remove 1 ball (keeping others covered) and press into a flat disc with rolling pin.
  17. Roll to a 6-inch circle, then to an 8-inch diameter, about 1/8 inch thick, dusting with flour if necessary. (The dough will shrink a bit while baking.)
  18. Carefully lift the dough circle and place quickly on hot baking sheet. After 2 minutes the dough should be nicely puffed. Turn over with tongs or spatula and bake 1 minute more.
  19. The pita should be pale, with only a few brown speckles.
  20. Transfer warm pita to a napkin-lined basket and cover so bread stays soft. Repeat with the rest of the dough balls.
Adapted from http://cooking.nytimes.com/recipes/1016071-homemade-pita-bread?pagewanted=all
Disney Meals http://disneymeals.me/

Lime Herculade

I was really excited to make Herculade. I’ve never thought of making my own sports drink before. Herculade is first seen in the Zero to Hero song (that one was grape, later in the movie Panic was shown dumping  a green Herculade on Hercules).

vlcsnap-2015-12-08-22h39m38s168

The Herculade I made actually tastes like a sports drink. A little more flavorful than Gatorade.  I tried to use ingredients that they would have available in Ancient Greece. I used honey instead of sugar cane, because the Grecians didn’t have sugar cane back then. They had access to all the other ingredients, but I stretched a little with the calcium and baking soda (sodium bicarbonate) because they wouldn’t have used those in foods, but still had them available.
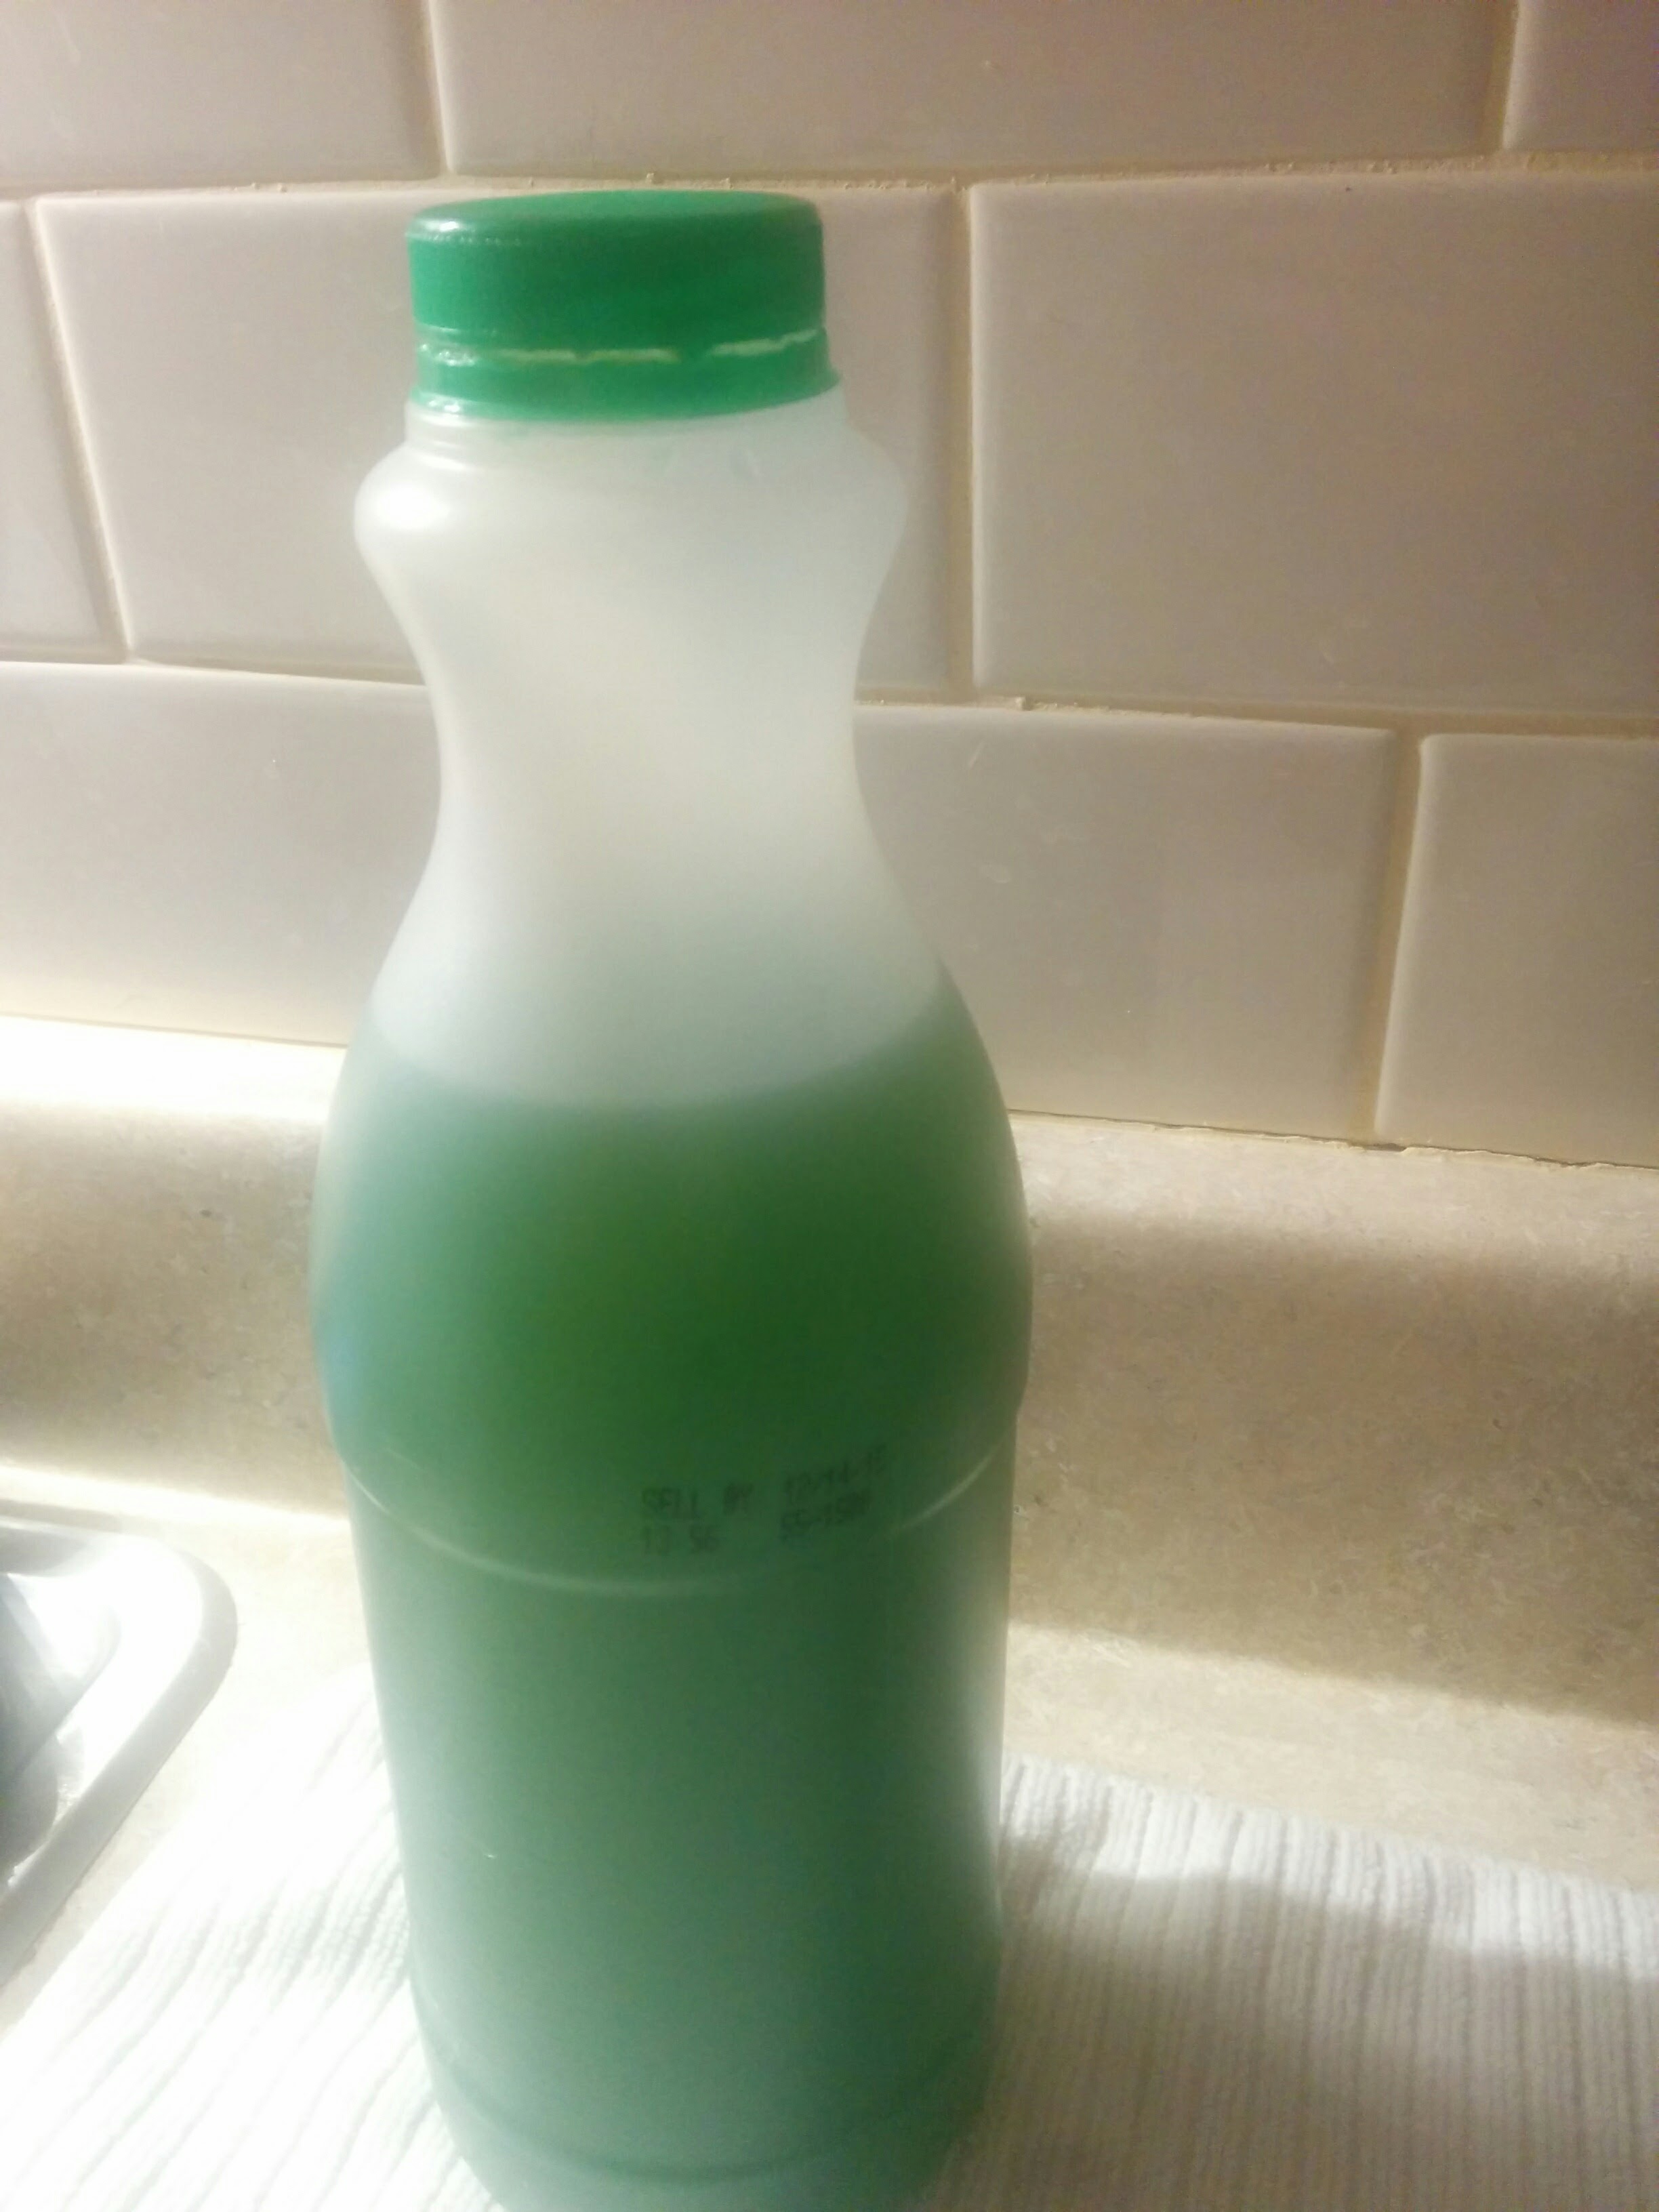
Lime Herculade
Write a review
Print
Prep Time
7 min
Cook Time
7 min
Total Time
14 min
Prep Time
7 min
Cook Time
7 min
Total Time
14 min
Ingredients
  1. 1 q water
  2. Lemon Peel (or lemon tea packets)
  3. Lime Peel
  4. 1/8 tsp Baking Soda
  5. 1/4 tsp Sea Salt
  6. 1/2 c Fresh Lime Juice
  7. 1/3 c Honey
  8. 1 calcium (Tums) tablet, crushed
Instructions
  1. Boil the water and put 1/4 of a lemon's peel in it and 1/2-3/4s of a lime's lemon peel. Boil for 5-7 minutes.
  2. Combine the rest of the ingredients.
  3. Stir/whisk/shake well
  4. Chill in fridge until cold
  5. (Note, I cheated a bit and added green food coloring)
Disney Meals http://disneymeals.me/

Grape Herculade

vlcsnap-2015-12-08-22h35m01s319

Here’s the recipe for the grape version. Sadly, I couldn’t get it to turn out very good :S Maybe one of you out there can perfect the recipe.

Grape Herculade
Write a review
Print
Prep Time
2 hr 10 min
Cook Time
20 min
Total Time
2 hr 30 min
Prep Time
2 hr 10 min
Cook Time
20 min
Total Time
2 hr 30 min
Ingredients
  1. 1 q water
  2. 1 peel of an apple
  3. 1.25 lbs grapes (or 1 1/2 c grape juice)
  4. 1/4 tsp Baking Soda
  5. 1/4 tsp Sea Salt
  6. 2 T Lemon Juice
  7. 2 tsp apple cider vinegar
  8. 1/4 c Honey
  9. 1 calcium (Tums) tablet, crushed
Instructions
  1. Put all the grapes in a pot and mash with a masher.
  2. Bring the grapes to a boil.
  3. Reduce heat to medium and let simmer for about 10 minutes
  4. Place a cheesecloth tightly over a bowl and dump the grape contents onto the cheesecloth
  5. Let sit for an hour or two
  6. Fold the cheesecloth over the remaining pulp and squeeze the remains out
  7. Boil the water and put the peel of 1 apple in. Boil for 5-7 minutes.
  8. Combine the apple tea, grape juice and the rest of the ingredients.
  9. Stir/whisk/shake well
  10. Chill in fridge until cold
Disney Meals http://disneymeals.me/

Hercola

After Hades blows up at Pain and Panic, Panic is seen drinking a Hercola.

vlcsnap-2015-12-08-22h37m18s026

So, here’s the thing with this. I had to order some Arabic gum and special champagne yeast from Amazon. But the order was delayed so I wasn’t able to make this before the time of this post. Here’s the recipe I would have used though.

Hercola
Write a review
Print
Cola syrup
  1. 1 quart water
  2. Finely grated zest and juice of 1 lemon
  3. Finely grated zest and juice of 1 lime
  4. Finely grated zest and juice of 2 oranges
  5. 3 large (5-inch) cinnamon sticks, broken into small pieces
  6. 2 tablespoons dried bitter orange peel
  7. 2 teaspoons coriander seed
  8. 1/4 teaspoon finely grated nutmeg
  9. 1 teaspoon gum arabic (optional)
  10. 2 pounds sugar
  11. 1/4 cup browning sauce, such as Kitchen Bouquet
  12. 1/2 teaspoon vanilla extract
Final Product
  1. 4 quarts lukewarm (80-90°F) water
  2. 1 batch cola syrup
  3. 1/8 teaspoon champagne yeast (Saccharomyces bayanus)
Syrup
  1. Combine the water, lemon zest, lime zest, orange zest, cinnamon, bitter orange peel, coriander seed, nutmeg, and gum arabic (if using) in a large saucepan. Whisk together until the gum arabic dissolves. Stir in the sugar and bring to a boil, stirring until the sugar dissolves.
  2. Boil for 1 minute.
  3. Remove from the heat and stir in the lemon, lime, and orange juices, along with the browning sauce and vanilla. Let cool, then strain.
  4. This syrup will keep in the refrigerator for up to 2 weeks.
To Brew
  1. Combine the water and syrup in a large container. Test the temperature; the mixture should be at a warm room temperature, from 75 to 80°F. (If it is too hot, let it sit until it cools a bit. If it is too cold, warm it over low heat.) Add the yeast and stir until it is completely dissolved.
  2. Pour the mixture into sanitized plastic bottles using a sanitized kitchen funnel, leaving 1 1/4 inches of air space at the top of each bottle. Seal the bottles. Store for 2 to 4 days at room temperature. When the bottles feel rock hard, the soda is fully carbonated.
  3. Refrigerate for at least 1 week before serving; drink within 3 weeks to avoid overcarbonation.
Disney Meals http://disneymeals.me/


Will it Turn you From Zero to Hero?

The pita bread was awesome, as was the lime herculade. The grape Herculade was kinda disgusting, and I didn’t get a chance to make the Hercola yet :(

Verdict:

Pitas - 9/10

Lime Herculade - 8/10

Grape Herculade - 3/10

Hercola - ?/10 (Will update later)

0

Hunchback of Notre Dame - Croissants, Sausages, Grapes and Cheese

Quick links: Croissant | Sausages | Grapes and Cheese | Verdict


Food for a Guy Like You. Oh man, the music in Hunchback is amazing. The story is great, even though it is pretty dark, and Esmeralda is pretty sexy, haha. There are lots of french dishes shown, aka bread and cheese. But we did get to make homemade croissants! Yay! So ring some bells and eat some great food from Hunchback of Notre Dame.


Foods Shown

Ok, this is a new section. I want to start listing all the food shown in the movie. Sometimes I don’t list all the food shown. I exclude foods that are commonplace and don’t have recipes (like individual fruits and veggies) and/or foods that we’ve made before. But here are all the foods shown in Hunchback.


Quasi Croissant

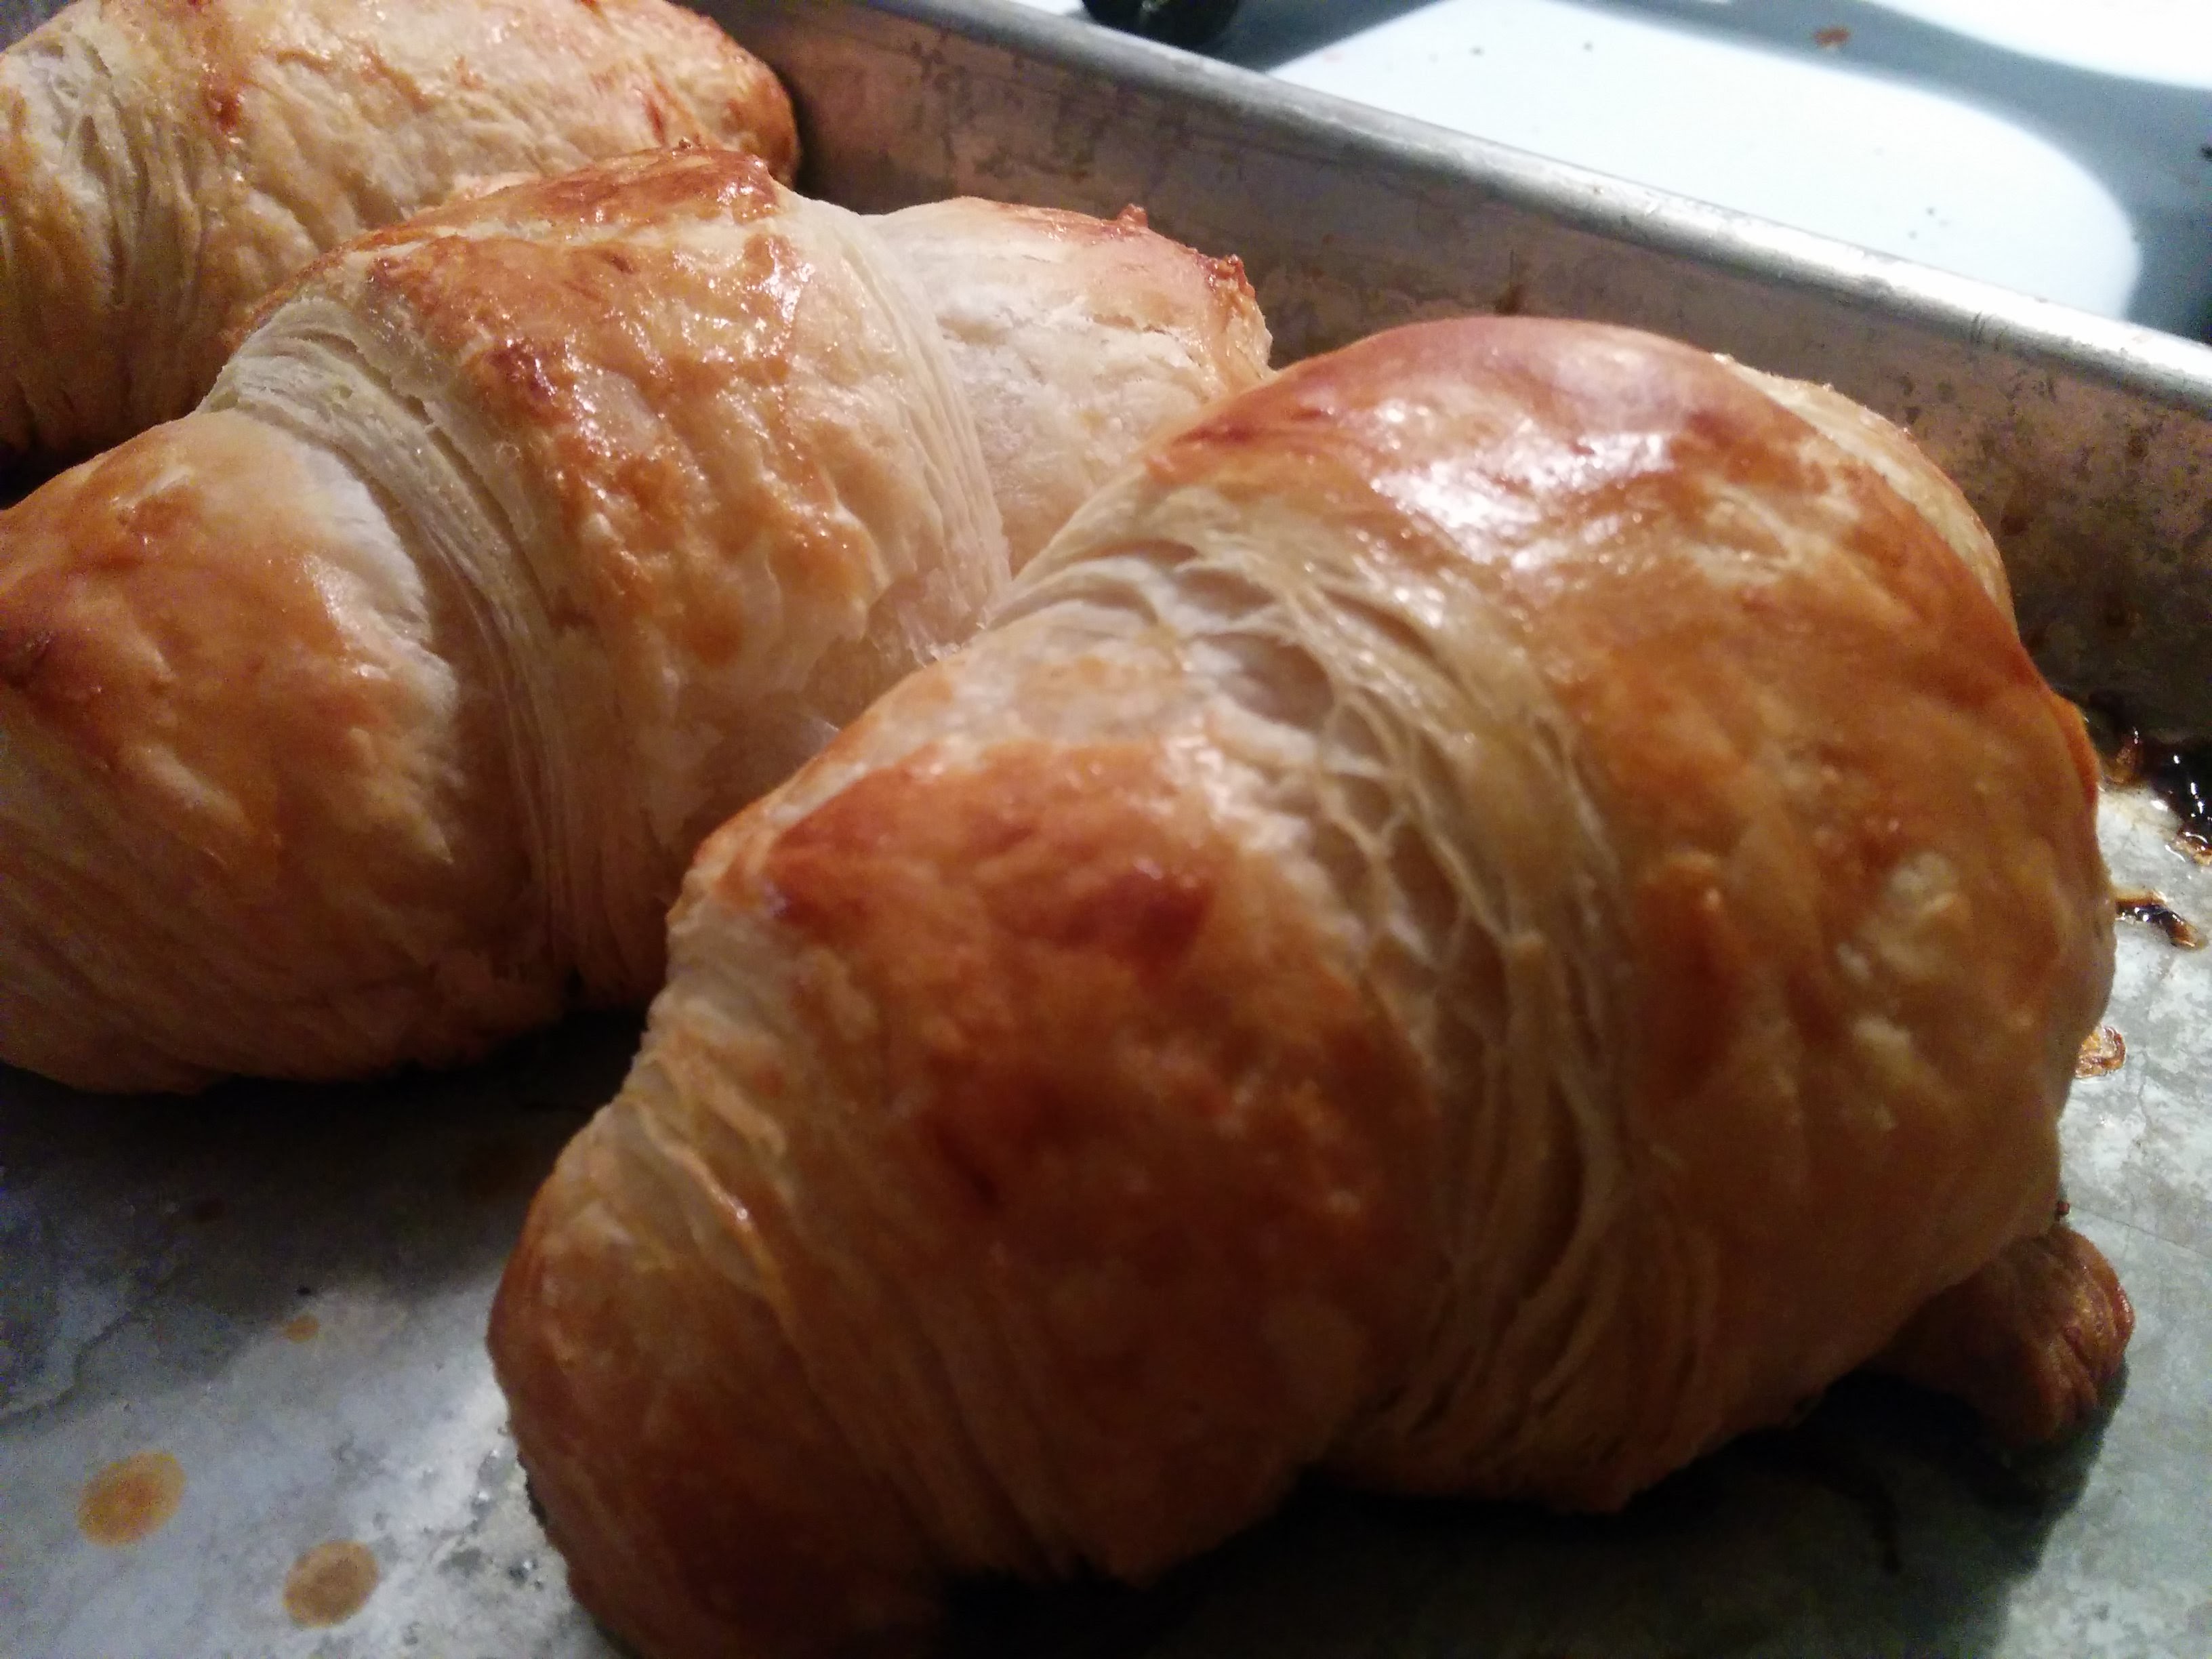
Part of the Guy Like You song, the gargoyles mention that Quasimodo has the shape of a croissant.

(Credit: Disney)

(Credit: Disney)

.I never have made croissants from scratch….and come to find out, its is pretty dang intense. It takes 3 days to make. I referenced this site for the recipe. I recommend checking it out for picture references. Sadly, when I was on the final rollout, somehow my dough got moist, even though I floured the counter…and the dough stuck to the counter…badly.  I managed to scrape a couple soggy croissants together, and they were still really really good. I just wish I would have found out what the perfect croissant was like.


Quasi Croissant
Yields 15
Write a review
Print
Prep Time
72 hr
Cook Time
20 min
Total Time
72 hr
Prep Time
72 hr
Cook Time
20 min
Total Time
72 hr
Ingredients for the Croissant Dough
  1. 500 g French Type 55 flour or unbleached all-purpose flour / plain flour (extra for dusting)
  2. 140 g water
  3. 140 g whole milk (you can take it straight from the fridge)
  4. 55 g sugar
  5. 40 g soft unsalted butter
  6. 11 g instant yeast
  7. 12 g salt
Other Ingredients
  1. 280 g cold unsalted butter for laminating
  2. 1 egg + 1 tsp water for the egg wash
Day 1
Making the Croissant Dough
  1. Combine the dough ingredients and knead for 3 minutes until the dough comes together and you’ve reached the stage of low to moderate gluten development. You do not want too much gluten development because you will struggle with the dough fighting back during laminating.
  2. Shape the dough like a disc, not a ball, before you refrigerate it, so it will be easier to roll it into a square shape the following day.
  3. Place the disc on a plate, cover with clingfilm and leave in the fridge overnight.
Day 2
Laminating the Dough
  1. Cut the cold butter (directly from the fridge) lengthwise into 1,25 cm thick slabs.
  2. Arrange the pieces of butter on waxed paper to form a square of about 15 cm x 15 cm.
  3. Cover the butter with another layer of waxed paper and with a rolling pin pound butter until it’s about 19 cm x 19 cm.
  4. Trim / straighten the edges of the butter and put the trimmings on top of the square.
  5. Now pound lightly until you have a final square of 17 cm x 17 cm.
  6. Wrap in paper and refrigerate the butter slab until needed.
  7. Use just enough flour on your work surface to prevent the dough from sticking.
  8. However keep the amount to a minimum, otherwise too much flour will be incorporated between the layers and this will show in the end result.
  9. Take the dough out of the fridge.
  10. With a rolling pin roll out the dough disc into a 26 cm x 26 cm square.
  11. Try to get the square as perfect as possible and with an even thickness.
  12. Get the slab of butter from the fridge.
  13. Place the dough square so one of the sides of the square is facing you and place the butter slab on it with a 45 degree angle to the dough so a point of the butter square is facing you.
  14. Fold a flap of dough over the butter, so the point of the dough reaches the center of the butter.
  15. Do the same with the three other flaps.
  16. The edges of the dough flaps should slightly overlap to fully enclose the butter.
  17. With the palm of your hand lightly press the edges to seal the seams.
  18. Now the dough with the sealed in butter needs to be rolled out.
  19. With a lightly floured rolling pin start rolling out, on a lightly flour dusted surface, the dough to a rectangle of 20 x 60 cm.
  20. Start rolling from the center of the dough towards the edges, and not from one side of the dough all the way to the other side. This technique helps you to keep the dough at an even thickness. You can also rotate your dough 180 degrees to keep it more even, because you tend to use more pressure when rolling away from you than towards yourself. You can use these techniques during all the rolling steps of this recipe. Aim at lengthening the dough instead of making it wider and try to keep all edges as straight as possible.
  21. Fold the dough letter style, cover with clingfilm and refrigerate for 30 minutes (fold one third of the dough on top of itself and then fold the other side over it).
  22. Repeat the rolling and folding two more times (ending up with 27 layers in total), each time rolling until the dough is about 20 cm x 60 cm.
  23. After each fold you should turn the dough 90 degrees before rolling again. The open ‘end’ of the dough should be towards you every time when rolling out the dough.
  24. After the second turn, again give it a 30 minute rest in the fridge.
  25. After the third turn you leave the dough in the fridge overnight until day 3, the actual croissant making day!
Summary
  1.  Roll out to 20 cm x 60 cm
  2.  Refrigerate 30 minutes
  3.  Rotate 90 degrees
  4.  Roll out to 20 cm x 60 cm
  5.  Refrigerate 30 minutes
  6.  Rotate 90 degrees
  7.  Roll out to 20 cm x 60 cm
  8.  Refrigerate until day 3
  9.  Rotate 90 degrees
  10.  Day 3 - Roll out to 20 cm x 110 cm
  11. Each laminating step should not take more than a few minutes.
  12. However if, due to initial inexperience for example, it should take you longer, you can fold your dough letter style, cover it and refrigerate it for 20 minutes and continue the rolling process after this rest. It is very important the butter stays solid.
Day 3 - Dividing the Dough
  1. Take the dough from the fridge.
  2. Lightly flour your work surface.
  3. Now very gently roll the dough into a long and narrow strip of 20 cm x 110 cm.
  4. If the dough starts to resist too much or shrink back during this process you can fold it in thirds and give it a rest in the fridge for 10 to 20 minutes before continuing.
  5. Do not fight the dough, when the dough refuses to get any longer, rest it in the fridge!
  6. It is such a shame to ruin two days of work. (Also, make sure that there is no moisture around. Error on too much flour on the surface instead of too little.)
  7. When your dough has reached its intended shape, carefully lift it a few centimeters to allow it to naturally shrink back from both sides. This way it will not shrink when you cut it. Your strip of dough should be long enough to allow you to trim the ends to make them straight and still be left with a length of about 100 cm.
Shaping the Croissants
  1. For the next stage you will need a tape measure and a pizza wheel.
  2. Lay a tape measure along the top of the dough.
  3. With the wheel you mark the top of the dough at 12,5 cm intervals along the length (7 marks total).
  4. Now lay the tape measure along the bottom of the dough and make a mark at 6,25 cm.
  5. Then continue to make marks at 12,5 cm intervals from this point (8 marks total). So the bottom and the top marks do not align with each other and form the basis for your triangles.
  6. Now make diagonal cuts starting from the top corner cutting down to the first bottom mark.
  7. Make diagonal cuts along the entire length of the dough.
  8. Then change the angle and make cuts from the other top corner to the bottom mark to create triangles.
  9. Again repeat this along the length of the dough. This way you will end up with 15 triangles and a few end pieces of dough.
  10. Using your pizza wheel, make 1.5 cm long notches in the center of the short side of each dough triangle.
  11. Now very gently elongate each triangle to about 25 cm.
  12. This is often done by hand, but we have found that elongating with a rolling pin, very carefully, almost without putting pressure on the dough triangle, works better for us.
  13. You can try both methods and see what you think gives the best result.
  14. After you cut a notch in the middle of the short end of the triangle, try and roll the two wings by moving your hands outwards from the center, creating the desired shape with a thinner, longer point. Also try and roll the dough very tightly at the beginning and put enough pressure on the dough to make the layers stick together (but not so much as to damage the layers of course).
Proofing and Baking
  1. Arrange the shaped croissants on baking sheets, making sure to keep enough space between them so they will not touch when proofing and baking.
  2. Combine the egg with a teaspoon of water and whisk until smooth.
  3. Give the croissants their first thin coating of egg wash.
  4. Proof the croissants draft-free at an ideal temperature of 24ºC to 26.5ºC (above that temperature there is a big chance butter will leak out!).
  5. The proofing should take about 2 hours.
  6. You should be able to tell if they are ready by carefully shaking the baking sheet and see if the croissants slightly wiggle. You should also be able to see the layers of dough when looking at your croissants from the side.
  7. Preheat the oven at 200 ºC / 390 ºF convection or 220 ºC / 430 ºF conventional oven.
  8. Right before baking, give the croissants their second thin coat of egg wash.
  9. We bake the croissants in our big convection oven for 6 minutes at 195ºC, then lowering the temperature to 165ºC, and bake them for another 9 minutes.
  10. Hamelman suggest baking the croissants for 18 to 20 minutes at 200ºC, turning your oven down a notch if you think the browning goes too quickly.
  11. But you really have to learn from experience and by baking several batches what the ideal time and temperature is for your own oven.
  12. Take out of the oven, leave for a few minutes on the baking sheet, then transfer to a cooling rack.
  13. Best eaten while warm and fresh of course. Croissant we don’t eat or share within a day we freeze. We put them in the preheated oven (180 ºC / 355 ºF) for 8 minutes straight from the freezer. Nothing wrong with that, croissants eaten nice and warm, almost as good as the fresh ones…almost!
Disney Meals http://disneymeals.me/

Gargoyle Sausage

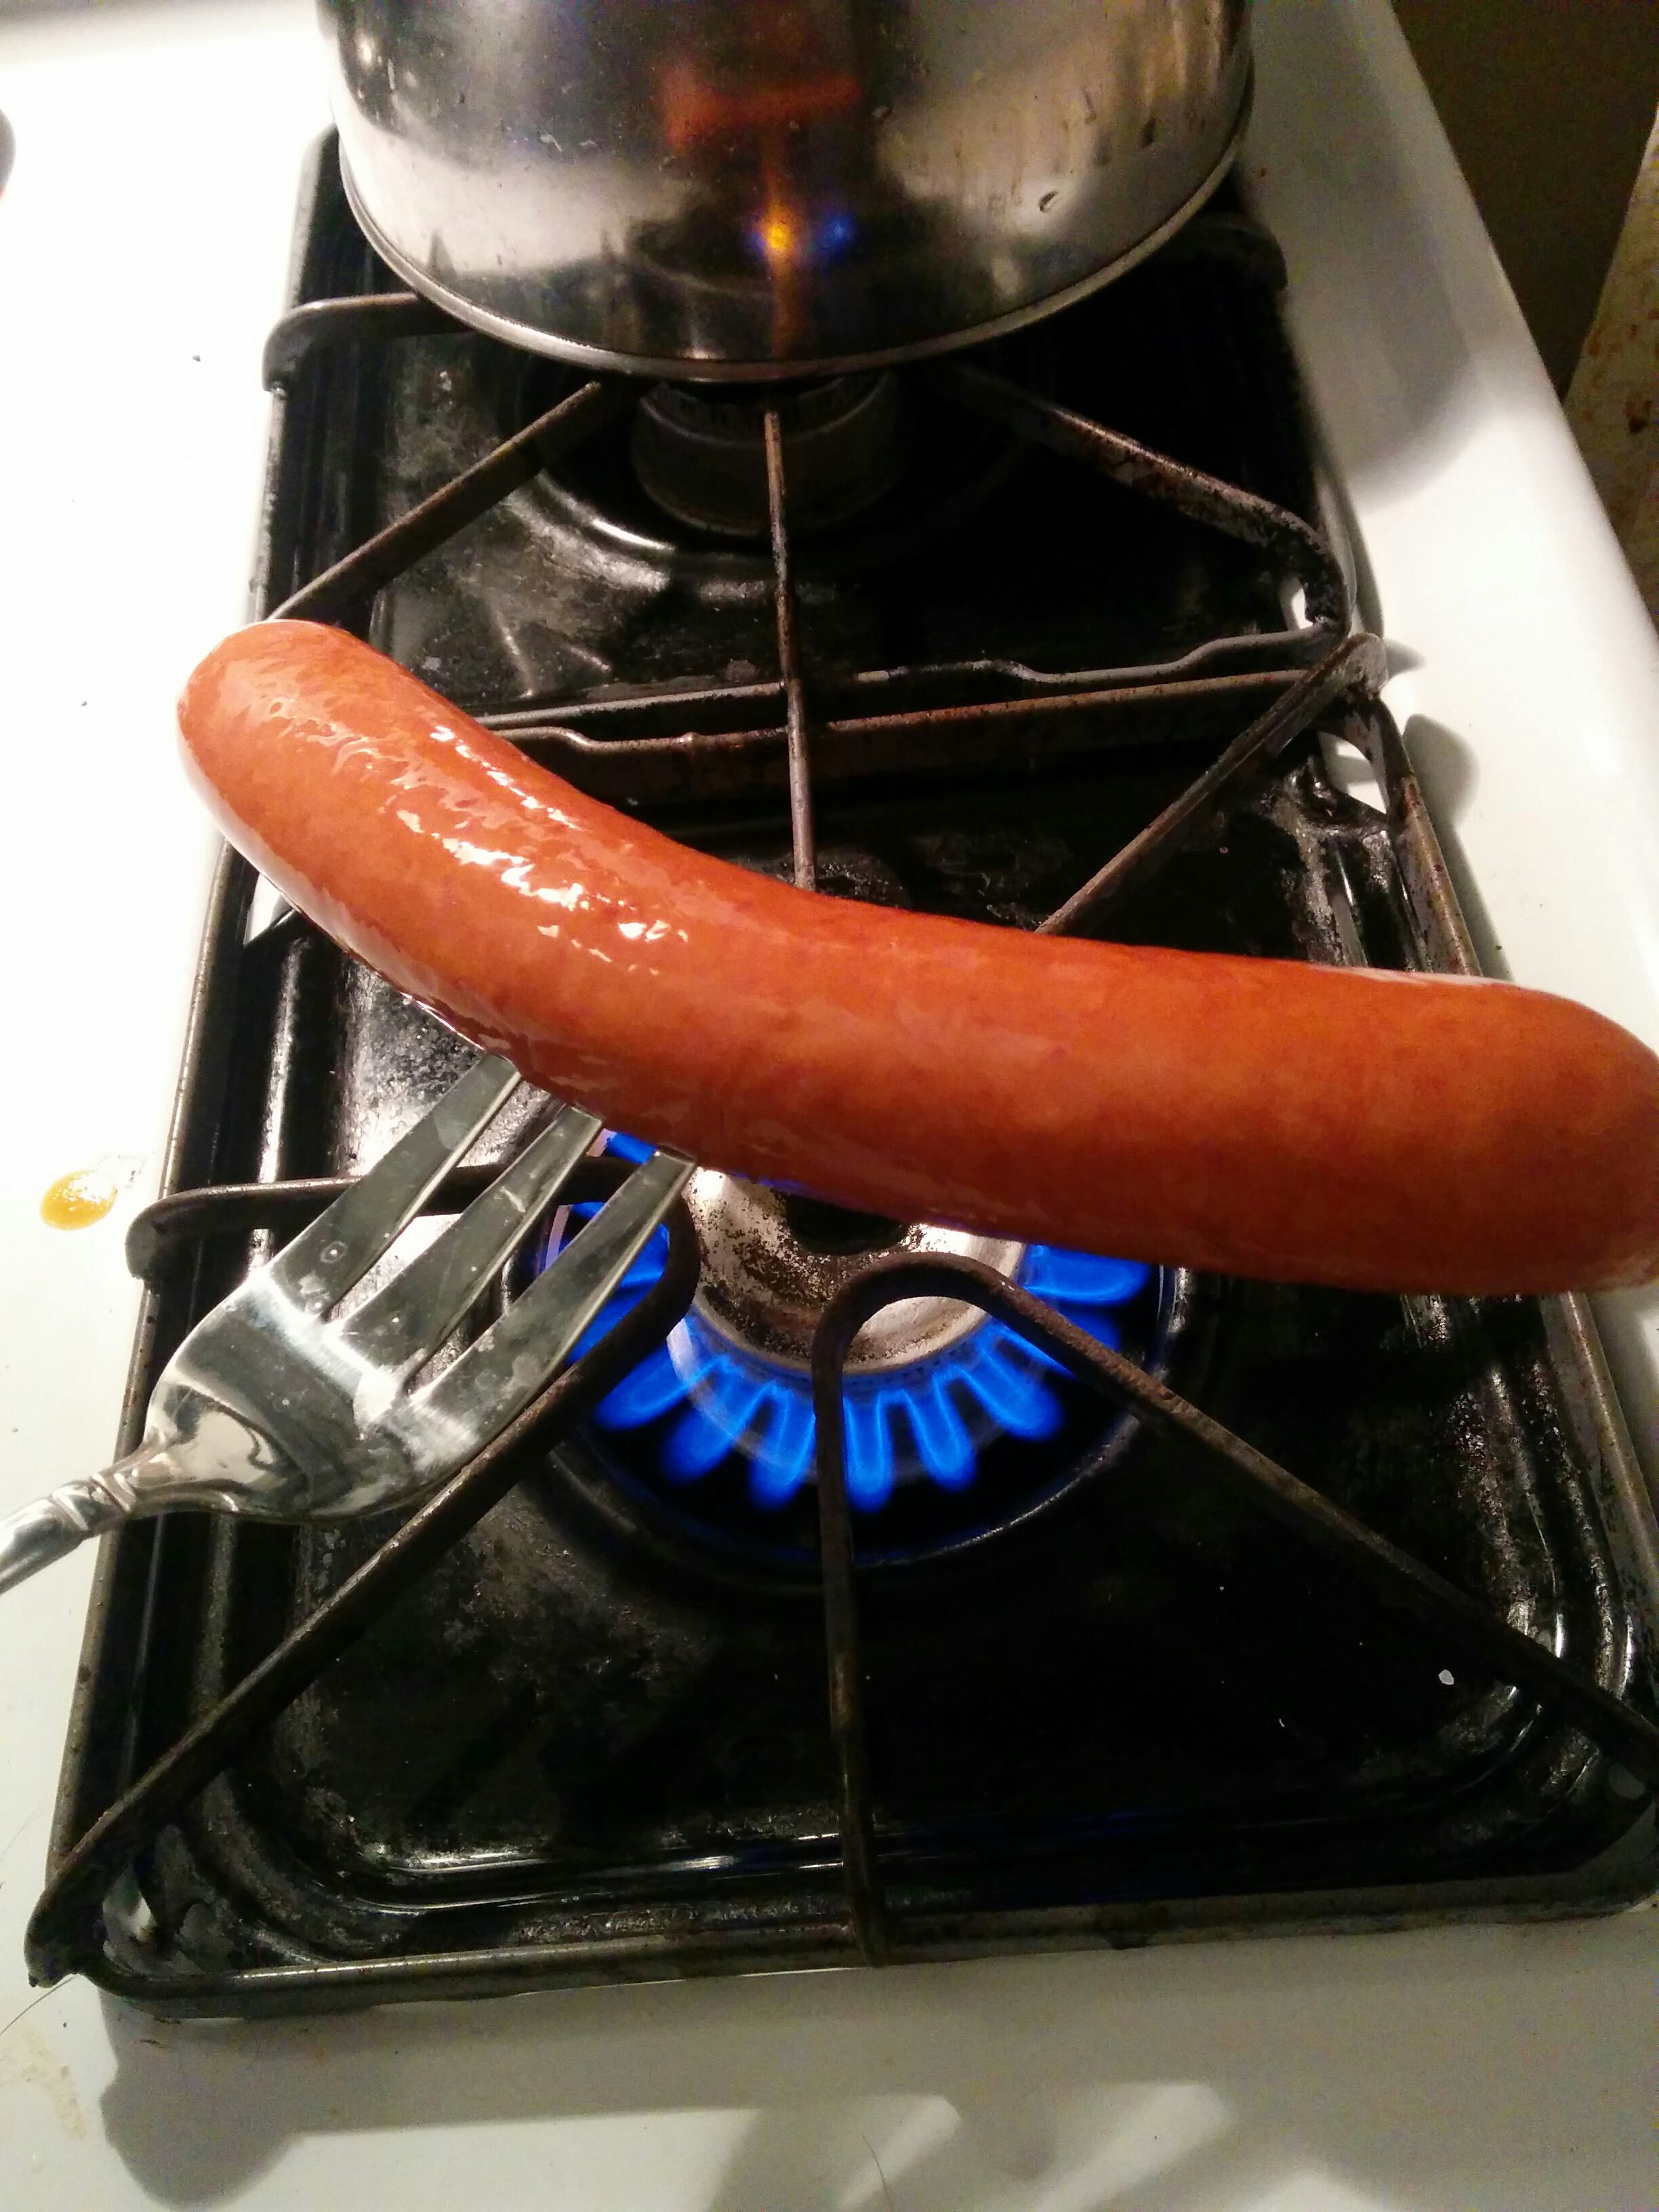
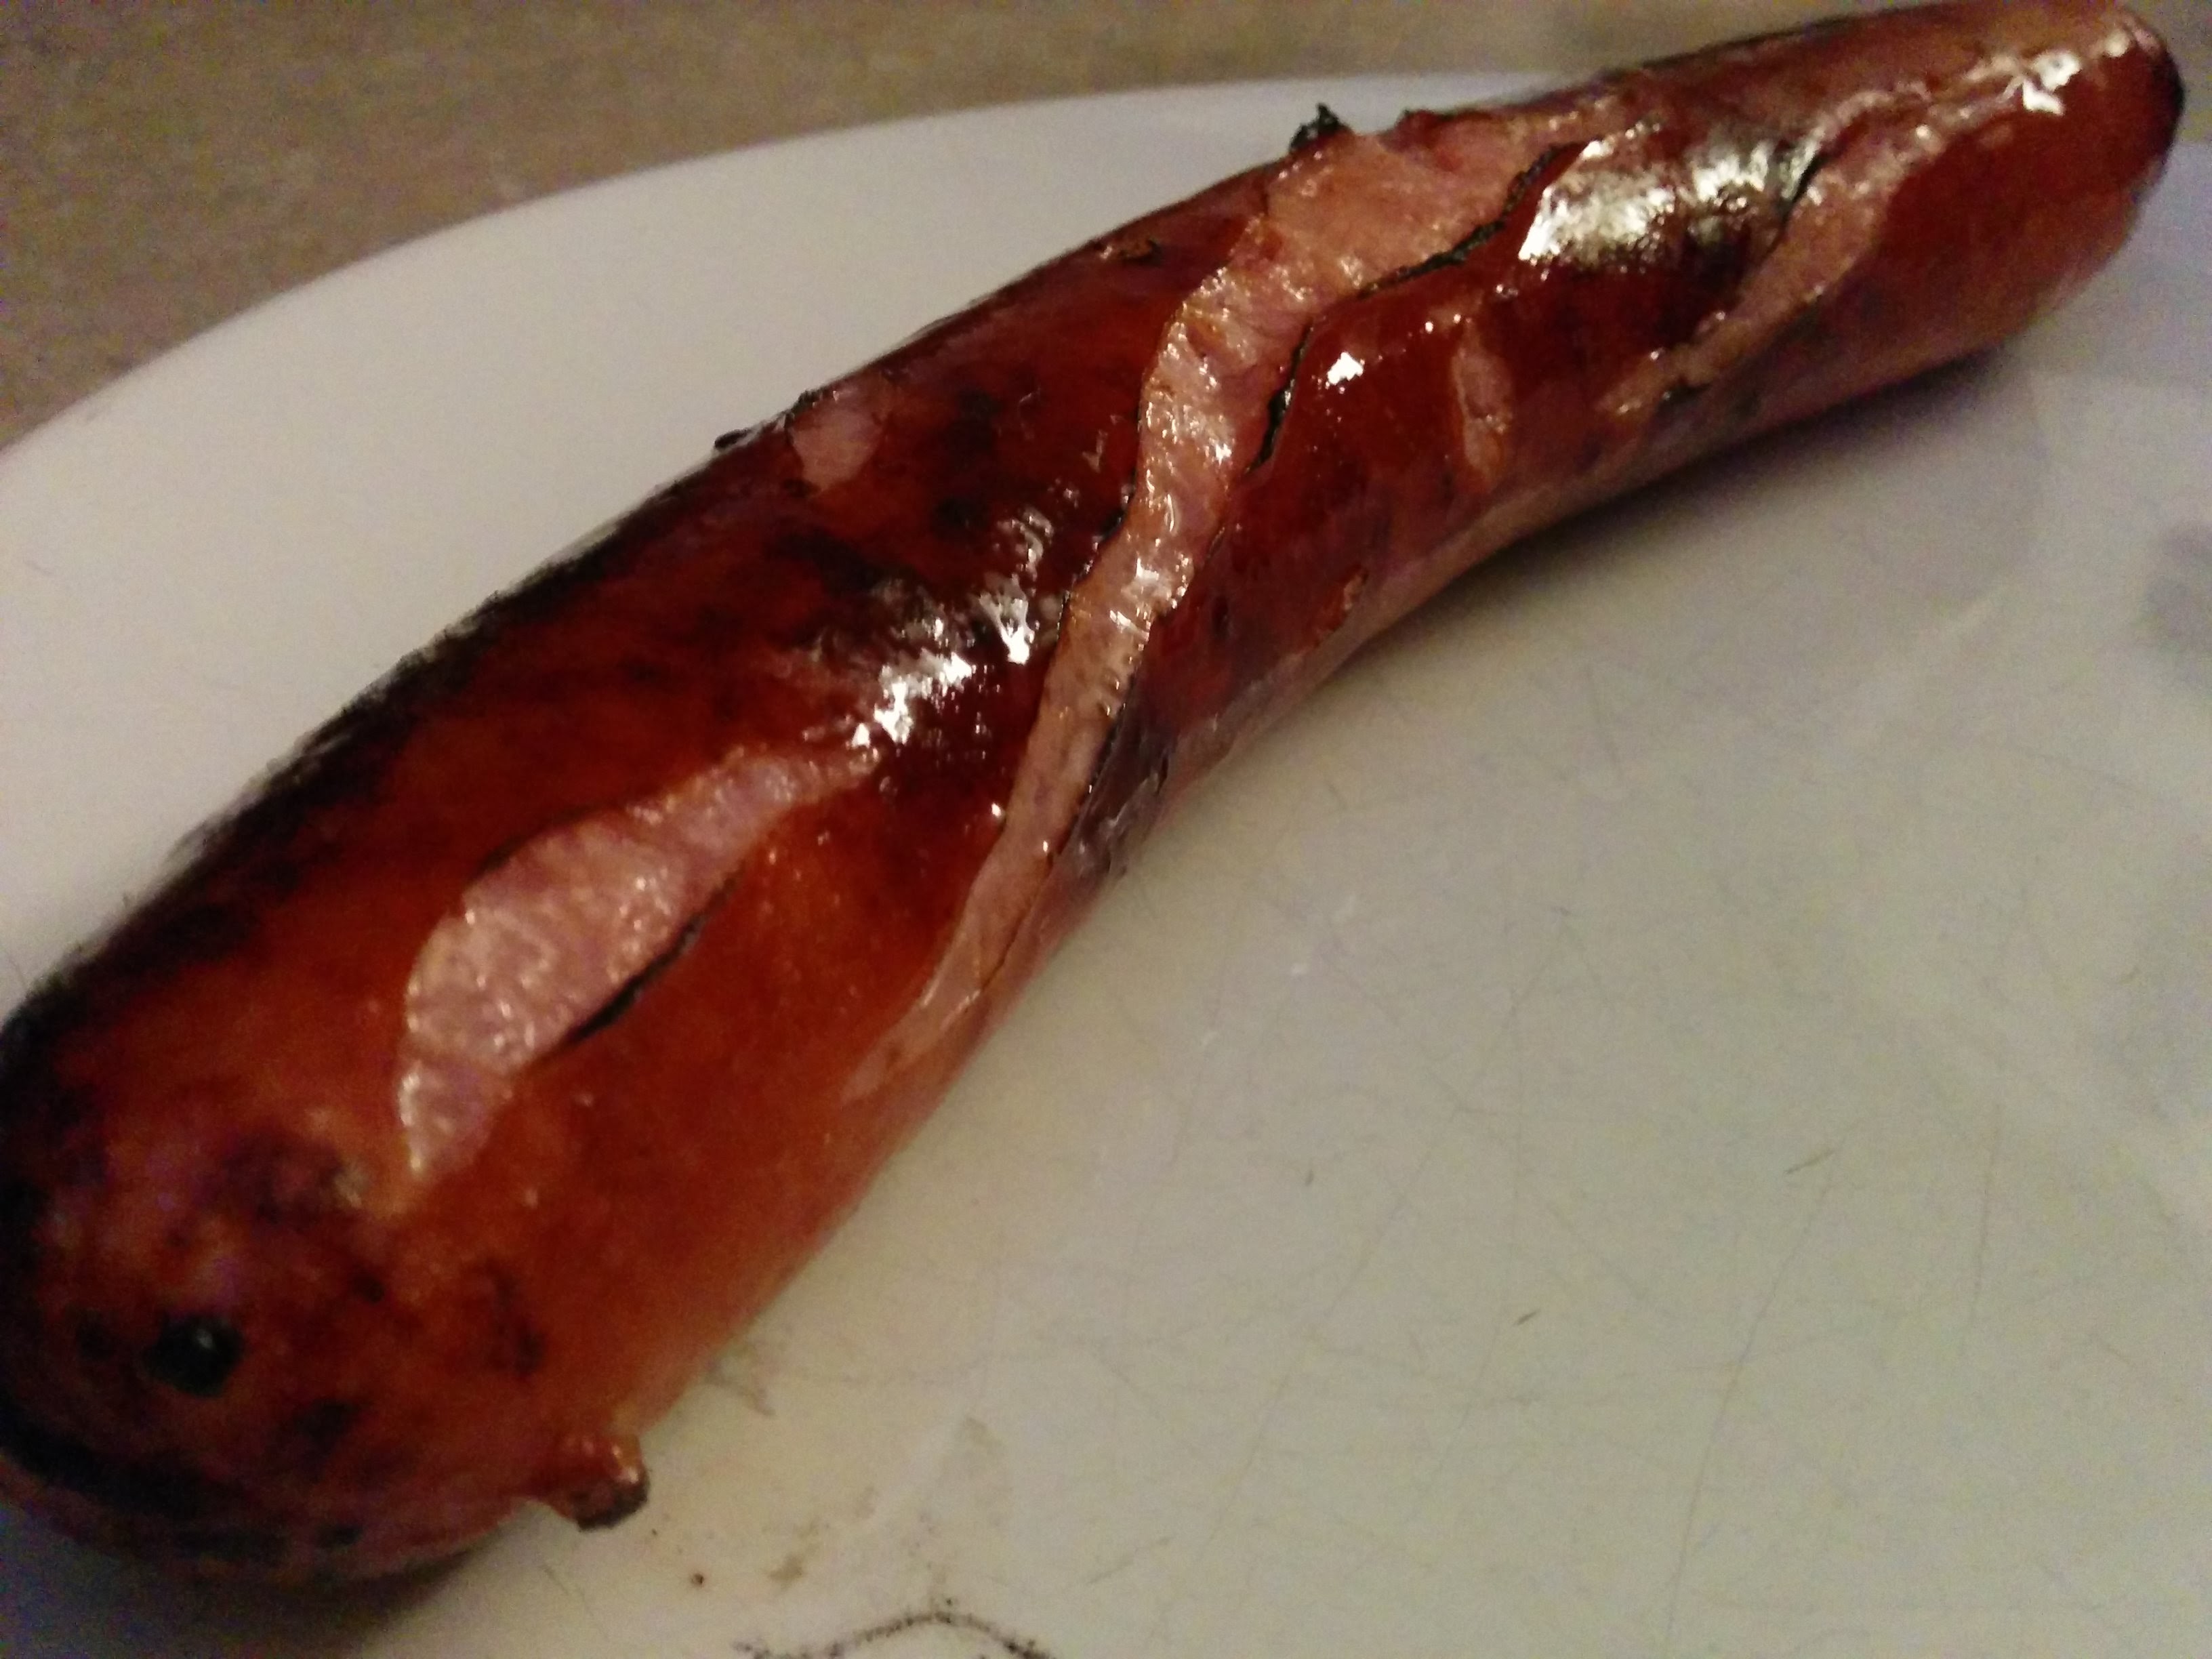
At the beginning of the the Guy Like You song, Hugo roasts a sausage over and open flame.

(Credit: Disney)

(Credit: Disney)

No recipe here, I just got some nice sausages and roasted them over the only open flame in my house, the gas stove. They still came out well.

IMG_20151201_174649

IMG_20151201_175111

Frolo’s Grapes and Cheese

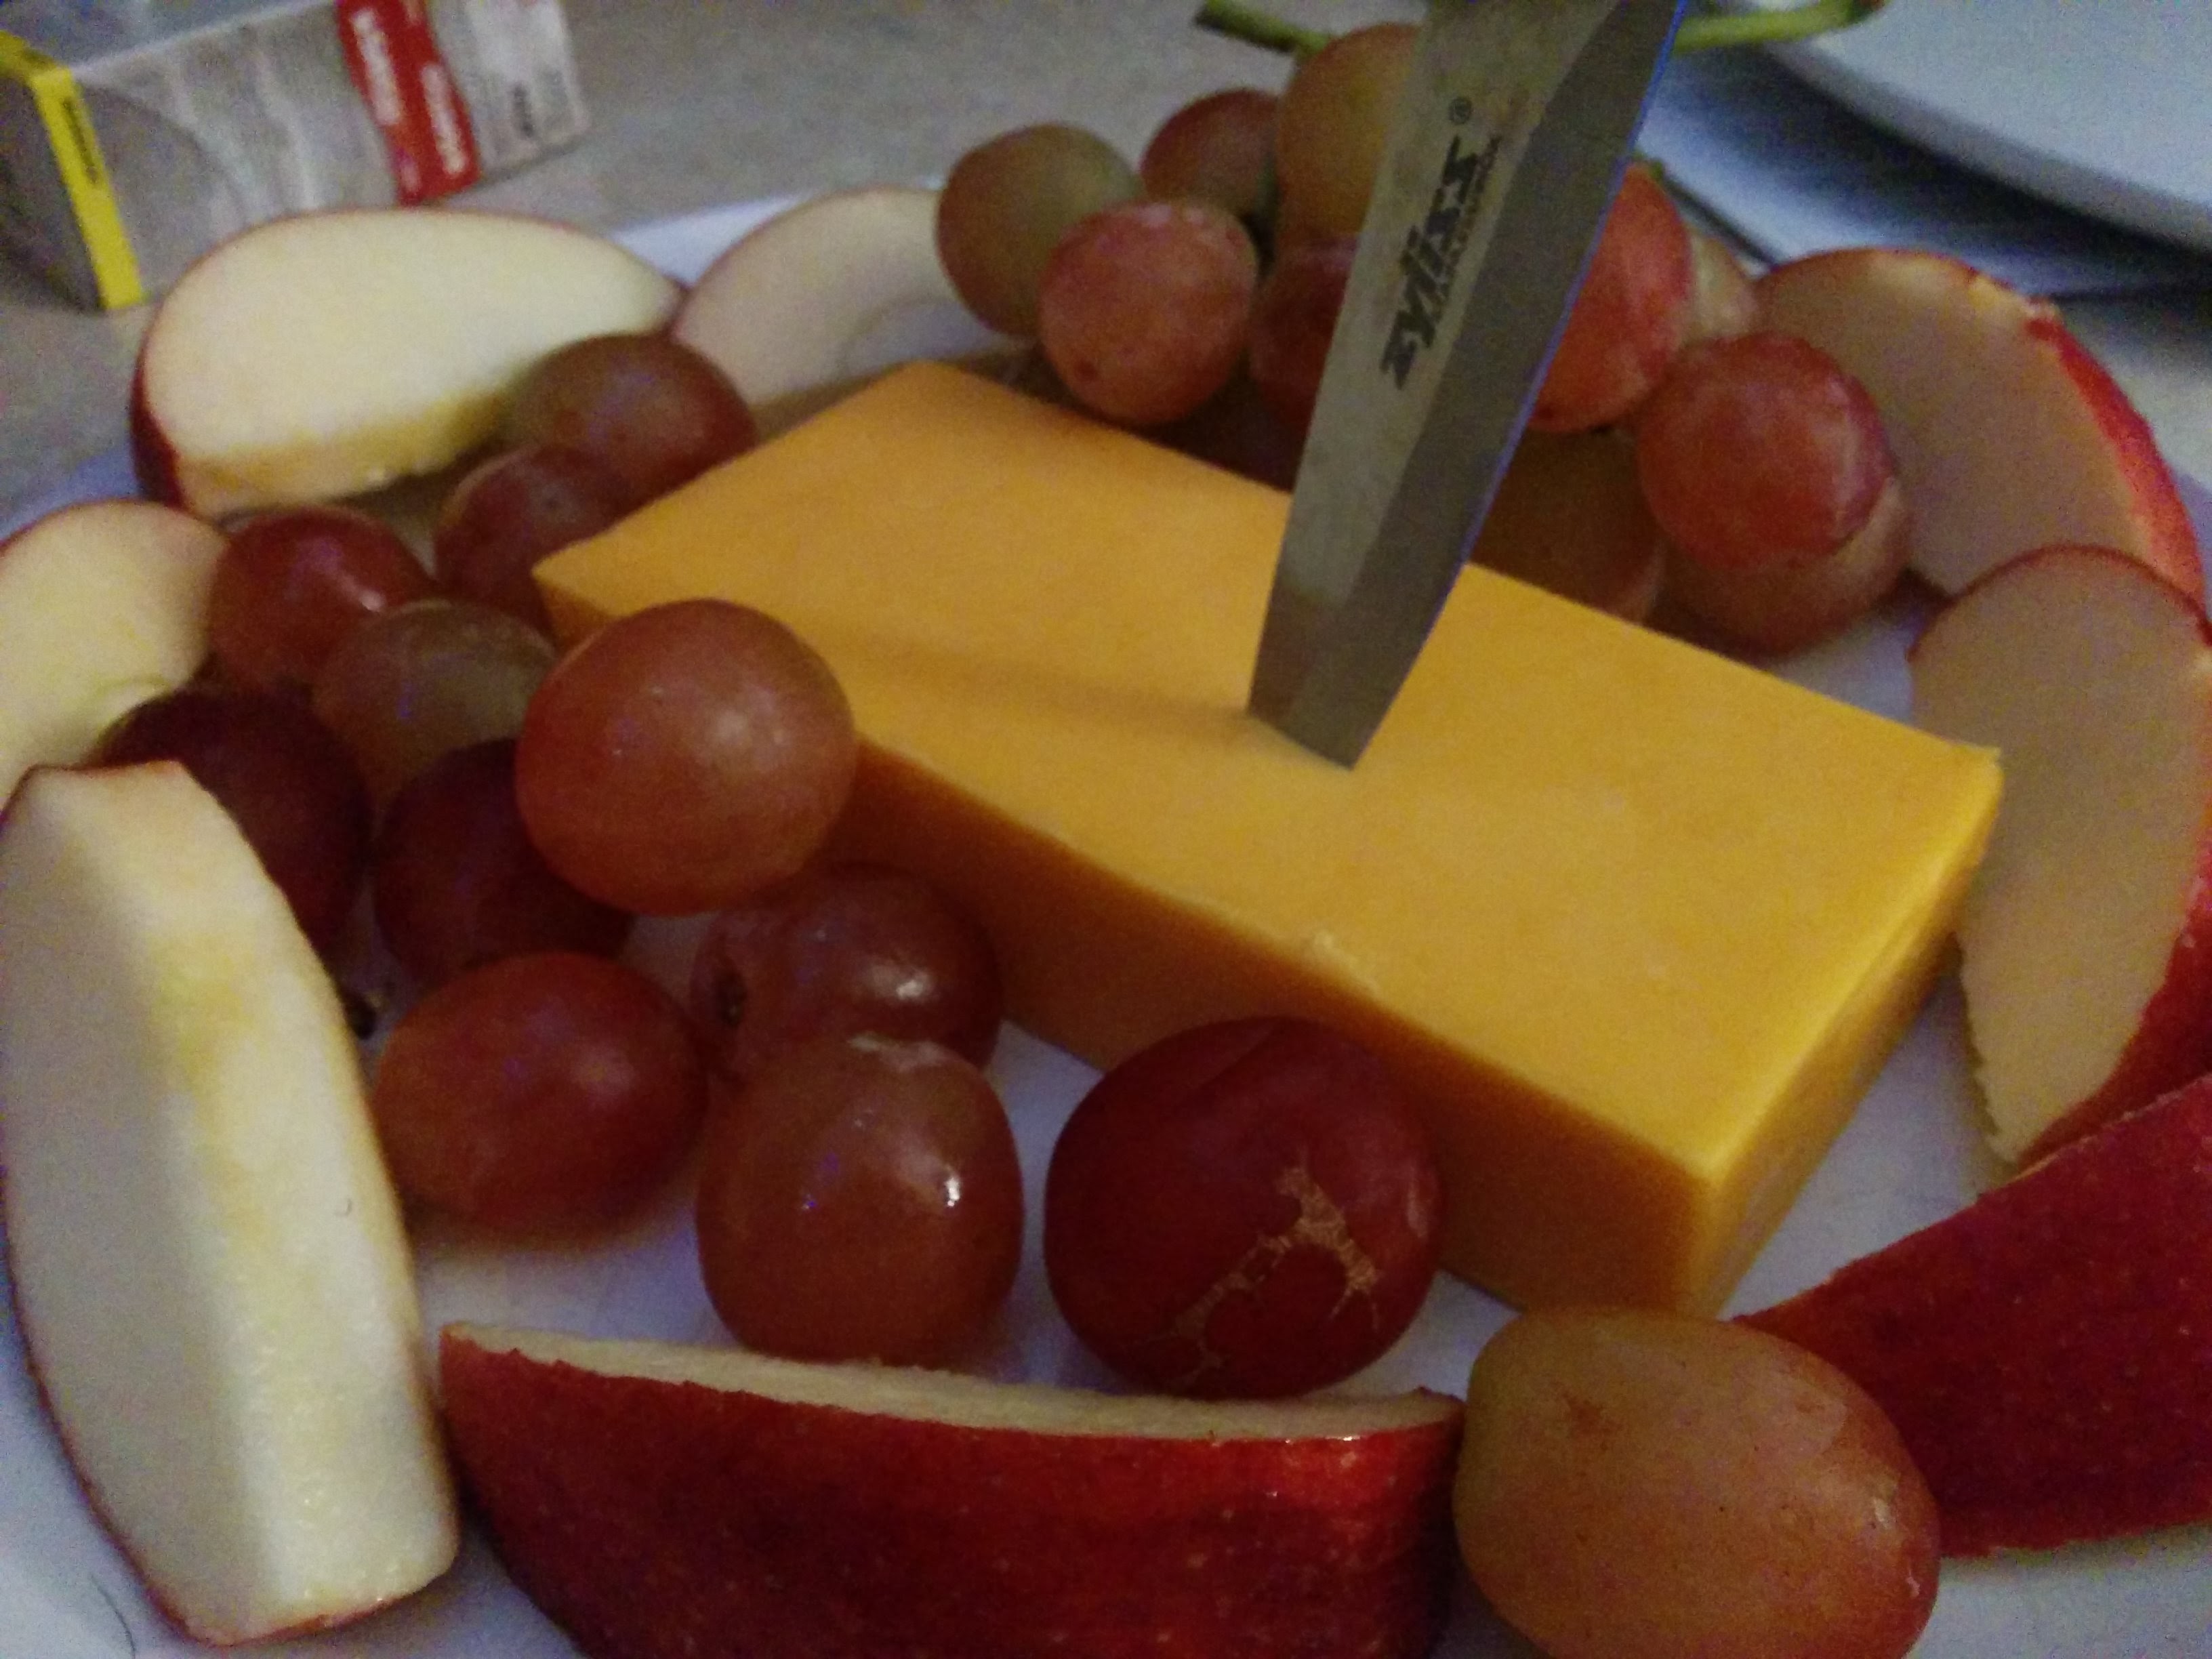
Another no-recipe section. There is just a lot of grapes and cheese featured.

(Credit: Disney)

(Credit: Disney)

So go get some grapes, mind the seeds, and eat with some yummy cheese.

IMG_20151201_175908

Will it Make the Bells of Notre Dame Ring?

All of it was good. I wish that the croissants turned out better. It sucks to work at something for 3 days, only to have it get semi-ruined at the end. But don’t get me wrong, they were still really really good.

Verdict:

Croissants - 9/10

Sausage - 8/10

Grapes and Cheese - 8/10

0

Toy Story - Pizza Planet Pizza, Alien Slime, Cool Ranch Doritos, Froot Loops and Poptarts

IMG_20151115_183146

I love Toy Story. Love love love. I was super excited to rewatch the movie. I was amazed on how well the 3d animation still holds up. It makes me feel soooo good. So grab your favorite toy, and get ready for some great food.

1

Goofy Movie - Leaning Tower of Cheeza, Bigfoot Steak, Hi Dad Soup, Eggs and Bacon, Pancakes, Chili Dog, Nachos, Pepperoni Pizza

Quick links: Leaning Tower of Cheeza | Bigfoot Steak Bait | Hi Dad Soup | Eggs and Bacon | Pancakes | Chili Dog | Nachos | Pepperoni Pizza | Verdict


This is one of the funniest Disney movies out there. Right up there with Emperor’s New Groove. It actually isn’t a Walt Disney Animation Studios picture. Its a Disneytoons Studio movie, which handles the direct-to-DVD/VHS/Blu-Ray sequels and other non-major movies. But the quality of Goofy Movie is right up there with any of the Walt Disney Animation movies. It has some awesome music too.


There were some other foods shown in this movie that have been seen in other movies. We see french fries a bit. You can find that recipe in the Aladdin post, there was a log that bigfoot ate. You can find a bark recipe in Bambi. Donuts (at the diner), you can find a recipe from Lady and the Tramp.


Leaning Tower of Cheeza

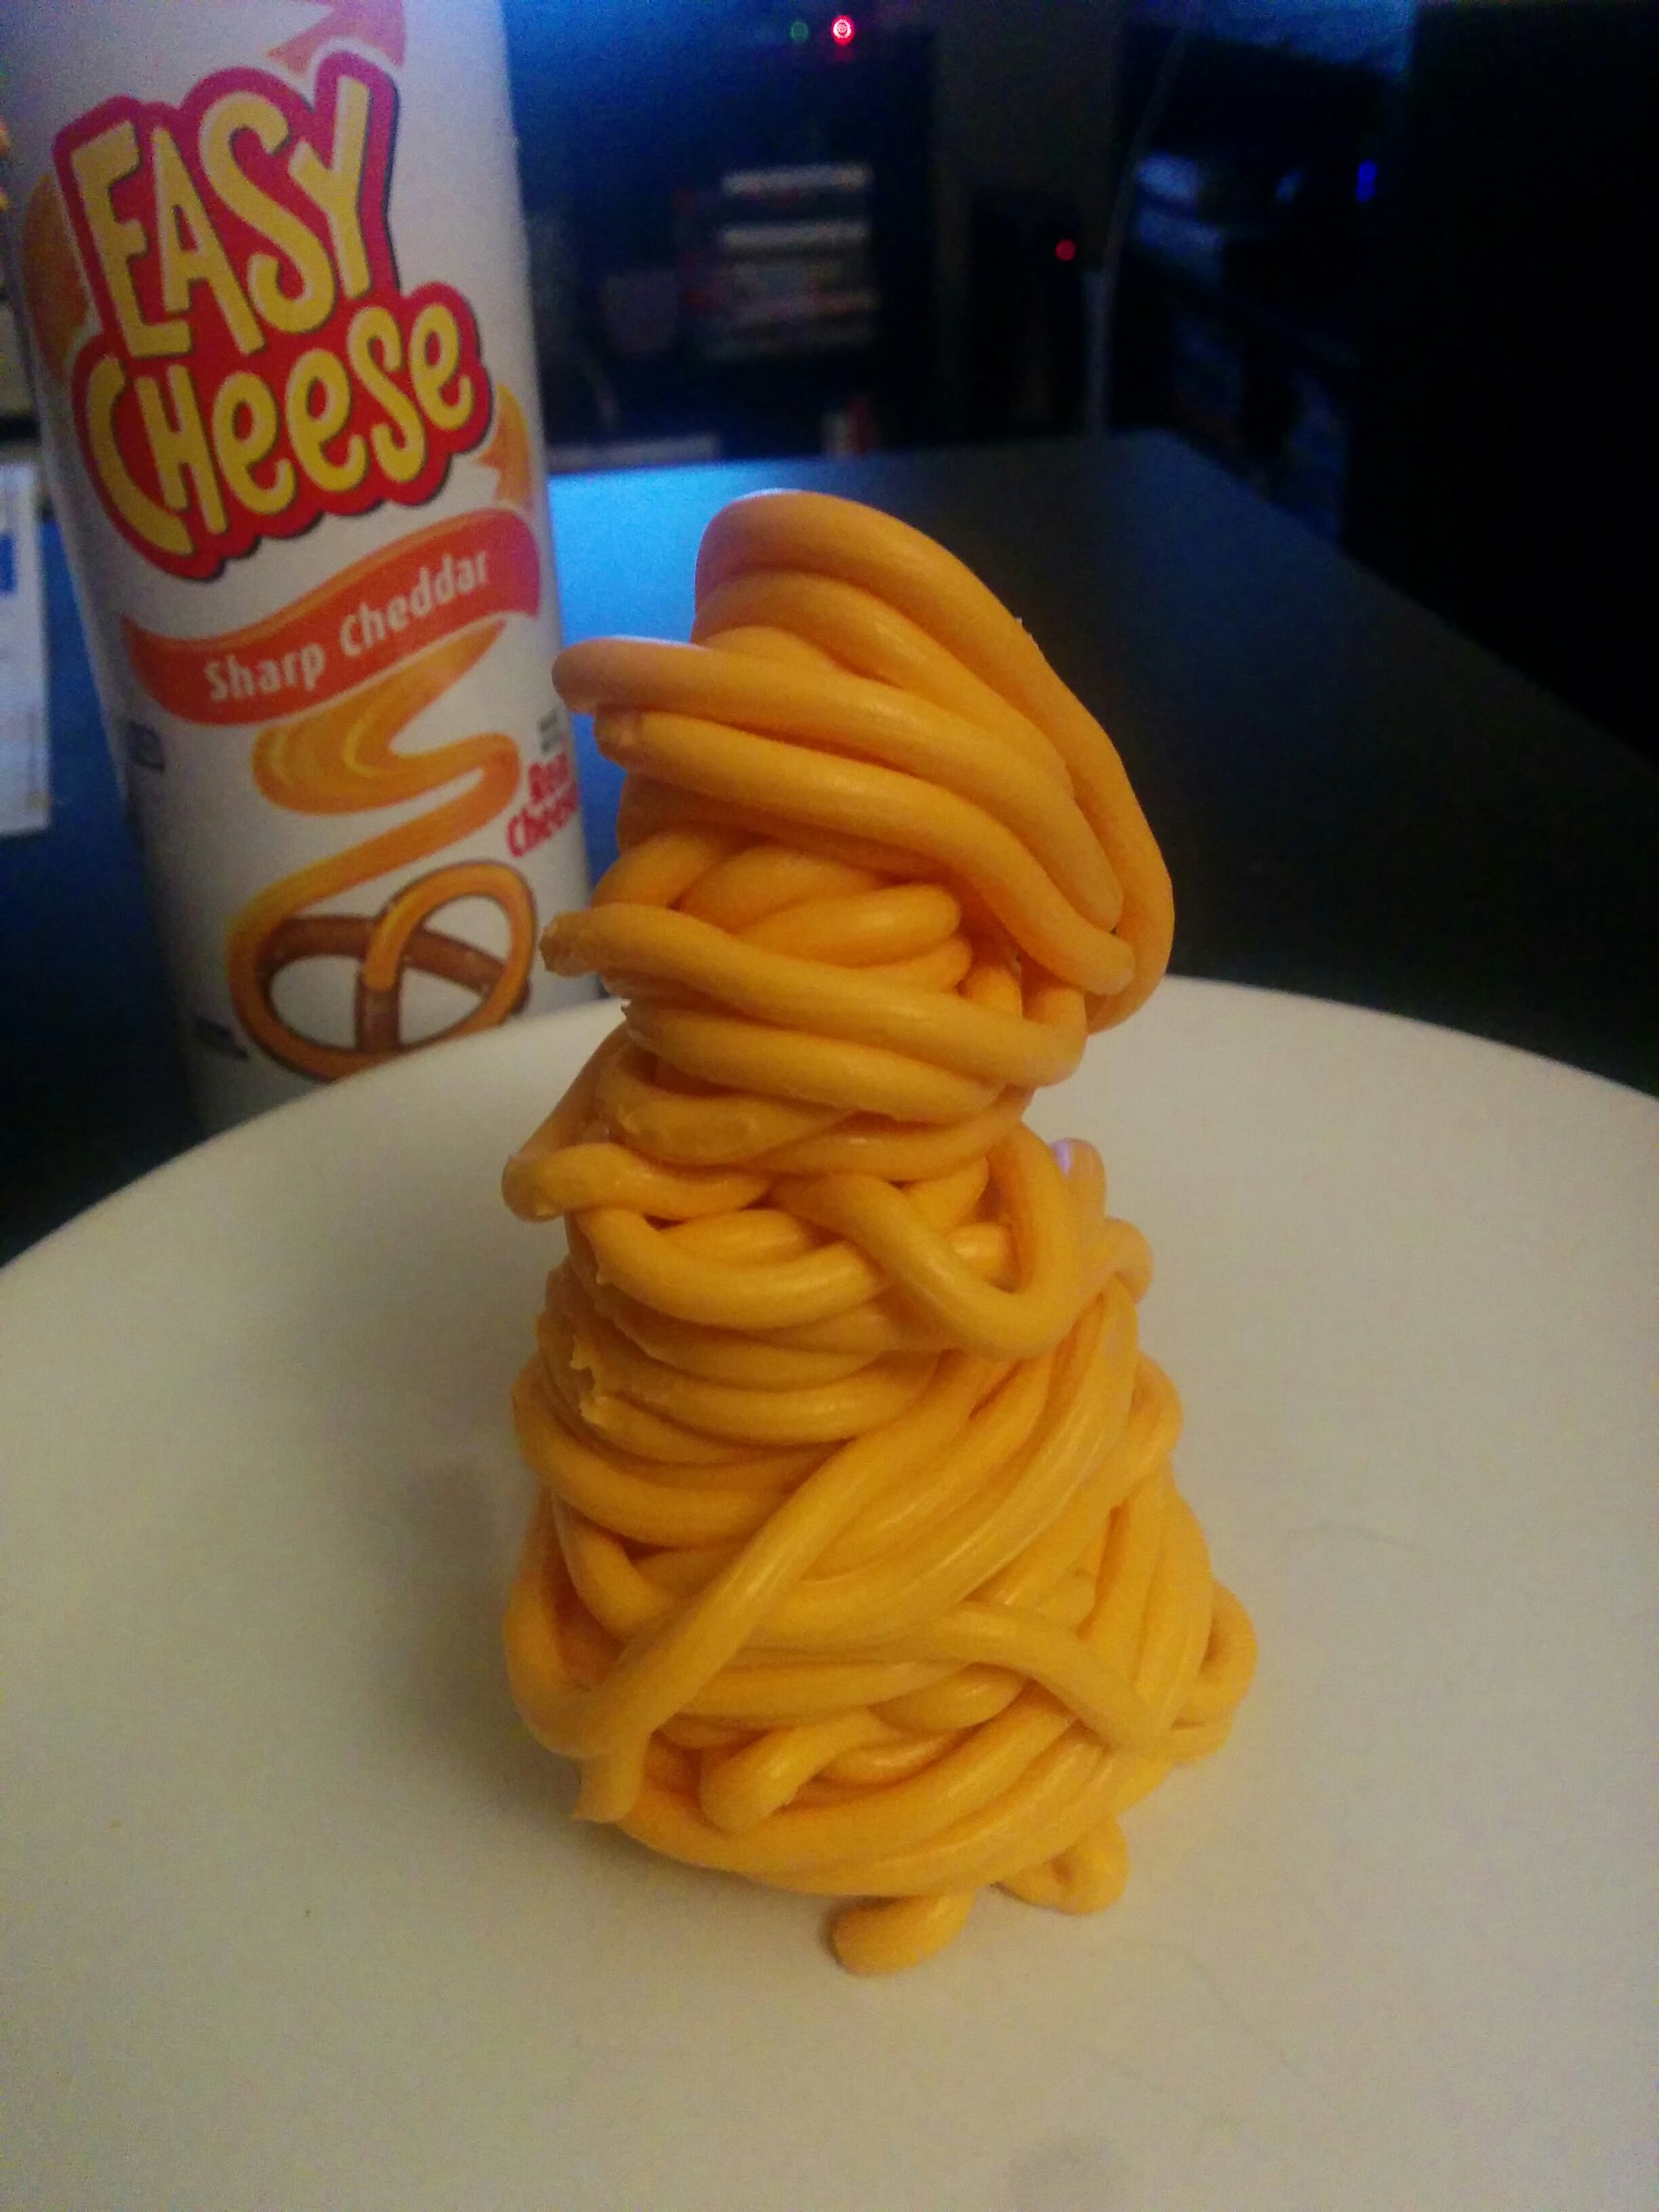
Probably one of the most memorable foods shown in a Disney movie, and quite possibly the most disgusting. Bobby is one of my all-time favorite characters (thanks Pauly Shore!)

I tried to replicate it….poorly.  When I ate it, it felt like I was going to suffocate. I highly recommend trying it! haha.

IMG_20151102_205045


Bigfoot Steak

When Max and Goofy are camping, Pete and PJ come wheeling up in their huge RV. Pete cooks a delicious-looking steak for dinner.

vlcsnap-2015-11-04-08h03m22s027

Goofy then manages to use that steak to attract bigfoot.

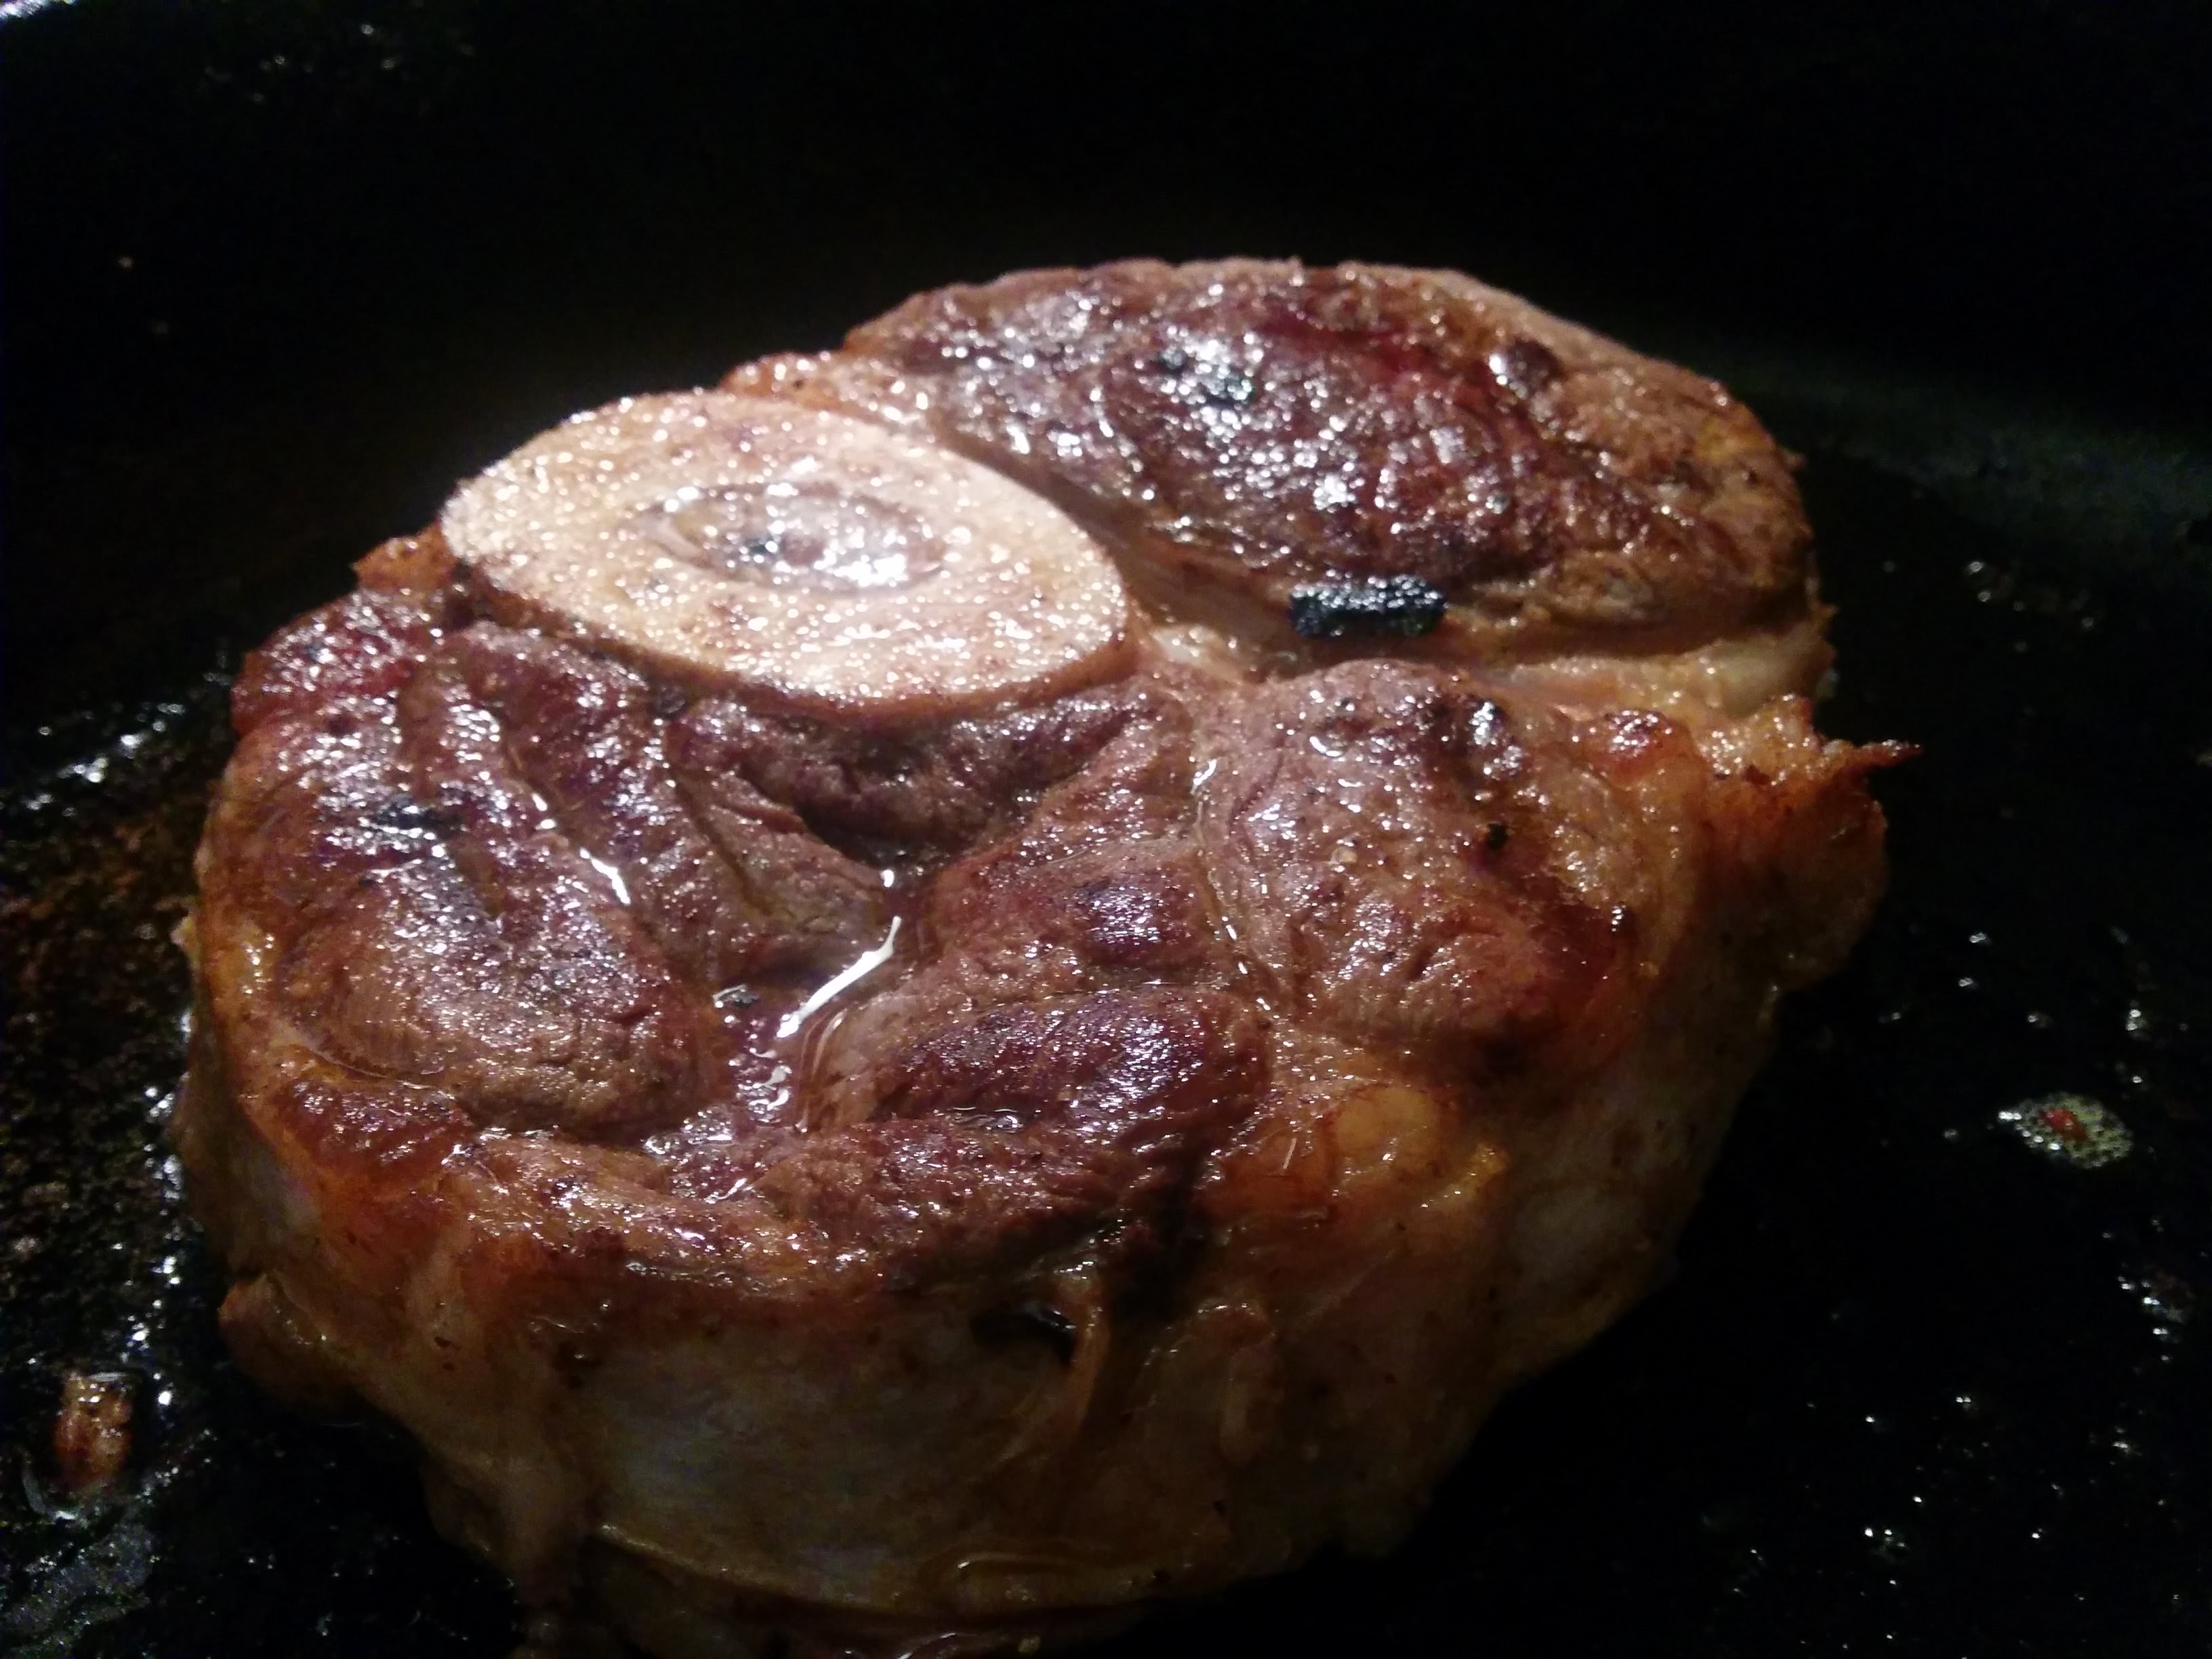
The steak I made was good, but I didn’t get a good cut of meat. It was very fatty. The char was at least good.

Bigfoot Steak
Write a review
Print
Prep Time
5 min
Cook Time
10 min
Total Time
15 min
Prep Time
5 min
Cook Time
10 min
Total Time
15 min
Ingredients
  1. Steak
  2. Salt
  3. Pepper
  4. Worcestershire Sauce
Instructions
  1. Set the steak out before cooking to allow it to reach room temperature
  2. Season with salt and pepper
  3. Throw on the grill and sprinkle Worcestershire sauce on
  4. Cook to a medium rare
Disney Meals http://disneymeals.me/

Hi Dad Soup

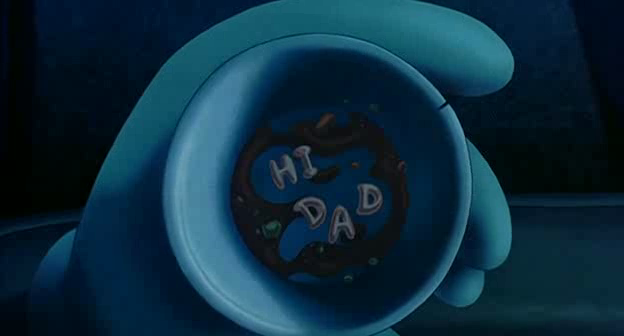
Another iconic Disney food scene. Max and Goofy’s father/son bonding moment. 

vlcsnap-2015-11-04-08h03m48s899

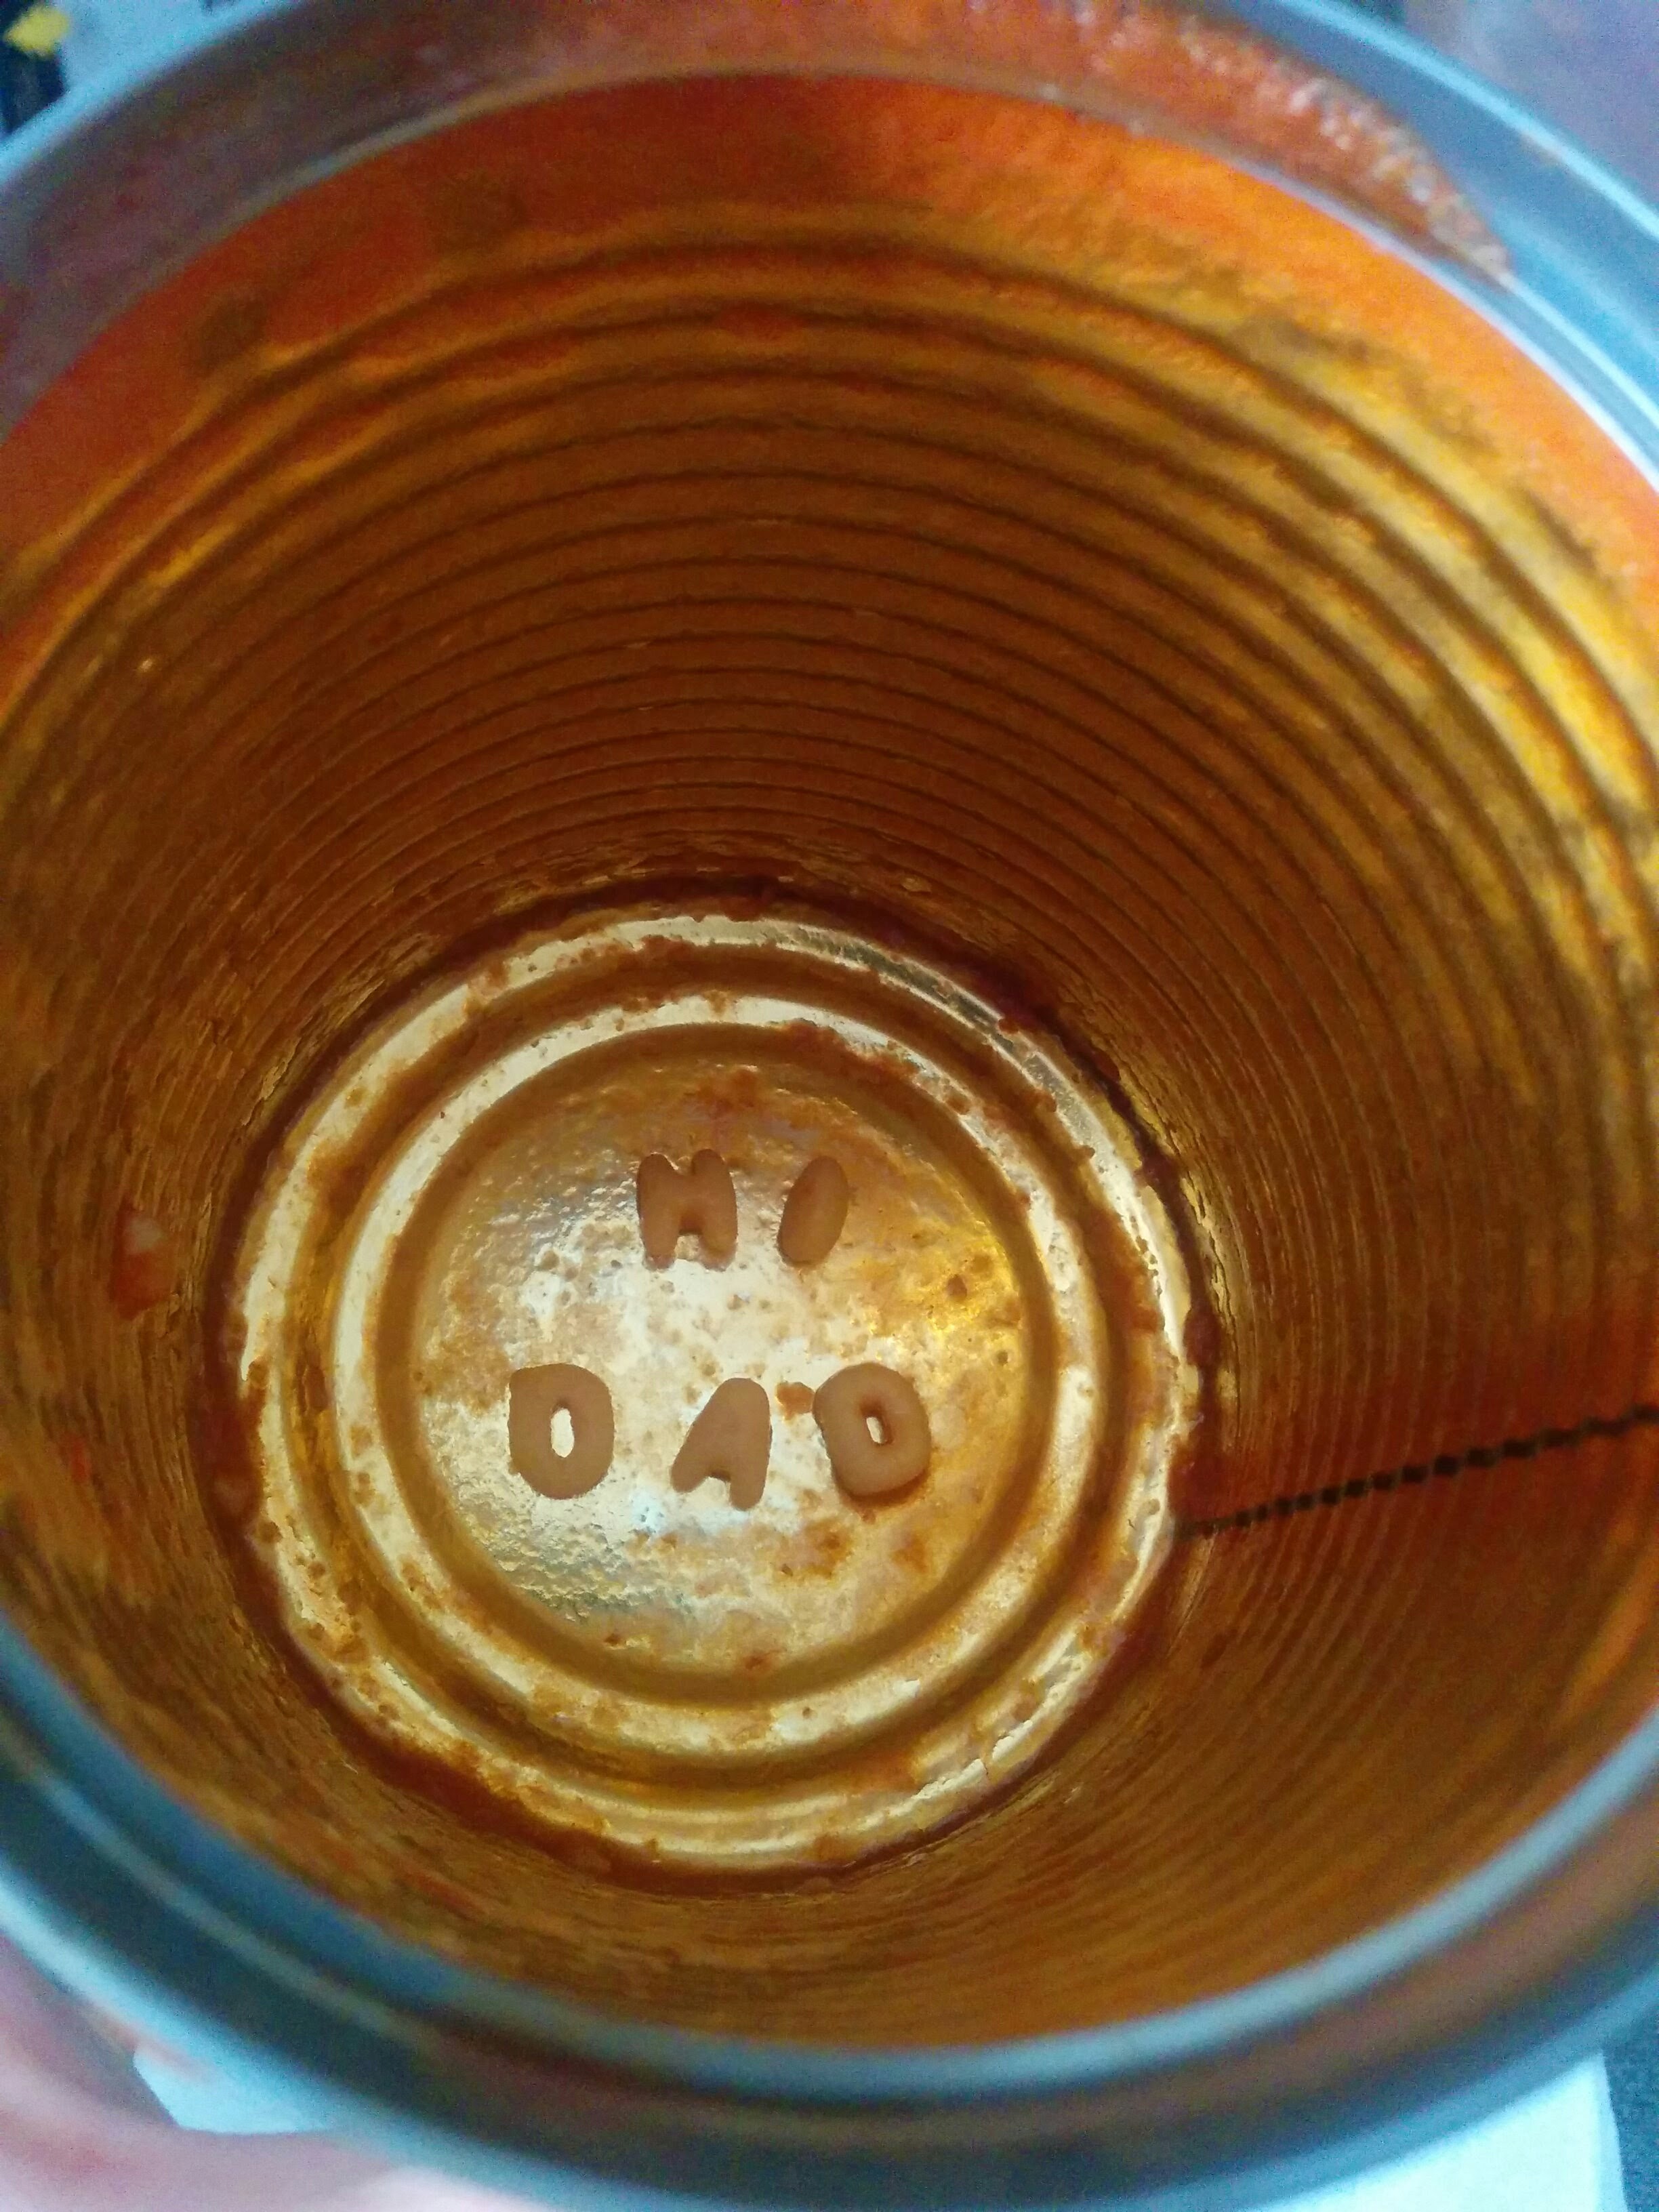
I tried to find some alphabet soup, but I couldn’t. The closest I got was alphabet spaghetti-o’s. Basically the same thing, right? I wanted to cook it on a cigarette lighter, but I couldn’t find the one in my car. Too bad.
IMG_20151101_144018
No real recipe here. Just find some alphabet soup and heat it up!

Smiling Eggs and Bacon

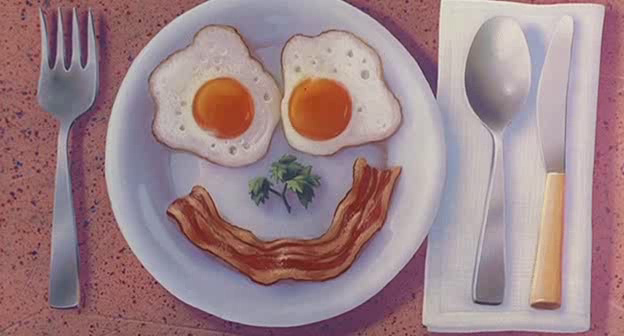
What a nice diner to make Max some smiley face eggs and bacon.

vlcsnap-2015-11-04-08h04m06s116

There isn’t much to making eggs and bacon. But a tip to making sunnyside up eggs, is to cook it on a lower heat and cover the eggs for a bit. That will cook the top as the bottom is cooking.
IMG_20151101_100604

Long Goofy’s Short Stack

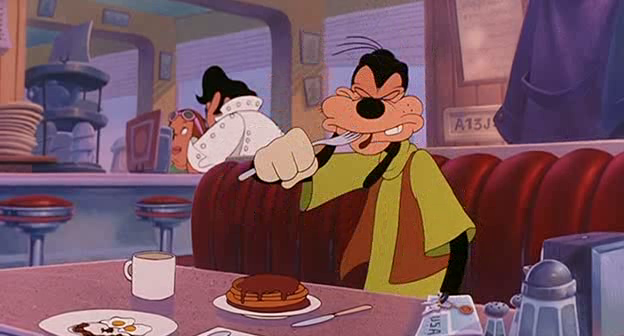
At the diner as as well, Goofy gets a short-stack (possibly a visual pun as to how how long and lerpy Goofy is).

vlcsnap-2015-11-04-08h04m16s742

Here’s a good diner-style pancake recipe

Goofy's Pancakes
Write a review
Print
Prep Time
5 min
Cook Time
5 min
Total Time
10 min
Prep Time
5 min
Cook Time
5 min
Total Time
10 min
Ingredients
  1. 1 1⁄4 cups all-purpose flour
  2. 1 egg
  3. 1 1⁄4 cups buttermilk
  4. 1⁄4 cup granulated sugar
  5. 1 teaspoon baking powder
  6. 1 teaspoon baking soda
  7. 1⁄4 cup cooking oil
  8. 1 pinch salt
Instructions
  1. Preheat a skillet over medium heat.
  2. Mix all of the ingredients til combined.
  3. Melt a little bit of butter in the pan.
  4. Pour the batter by spoonfuls into the hot pan, forming 5-inch circles.
  5. When the edges appear to harden, flip the pancakes.
  6. They should be golden brown.
  7. Cook the pancakes on the other side until they are also golden brown.
  8. Enjoy.
Disney Meals http://disneymeals.me/

Amusement Park Chili Dog

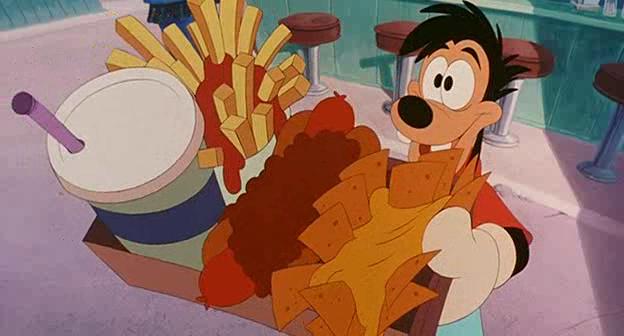
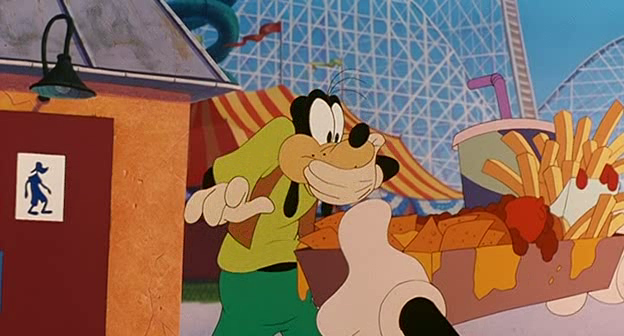
When Max becomes navigator, he takes his old man to an amusement park where he buys a chili dog and nachos

vlcsnap-2015-11-04-08h04m52s963

Here’s a recipe for a yummy chili dog

Amusement Park Chili Dog
Write a review
Print
Prep Time
10 min
Cook Time
15 min
Total Time
25 min
Prep Time
10 min
Cook Time
15 min
Total Time
25 min
Ingredients
  1. 1 lb ground chuck
  2. 1 large onion, chopped
  3. 2 garlic cloves, minced
  4. 1 (6 ounce) can tomato paste
  5. 1 cup water
  6. 1 tablespoon sugar
  7. 1 tablespoon prepared yellow mustard
  8. 1 tablespoon dried onion flakes
  9. 2 teaspoons chili powder
  10. 1 teaspoon Worcestershire sauce
  11. 1 teaspoon salt
  12. 1⁄2 teaspoon celery seed
  13. 1⁄2 teaspoon ground cumin (heaping)
  14. 1⁄4 teaspoon ground black pepper
Instructions
  1. Brown ground beef in a skillet, adding onions halfway through. Add minced garlic when meat is nearly done.
  2. Add remaining ingredients; stir well to combine. Simmer over low heat 15 minutes.
  3. Serve over hot dogs, Coney Island style! Top with shredded sharp cheddar if desired.
Disney Meals http://disneymeals.me/

Amusement Park Nachos

vlcsnap-2015-11-04-08h04m36s676

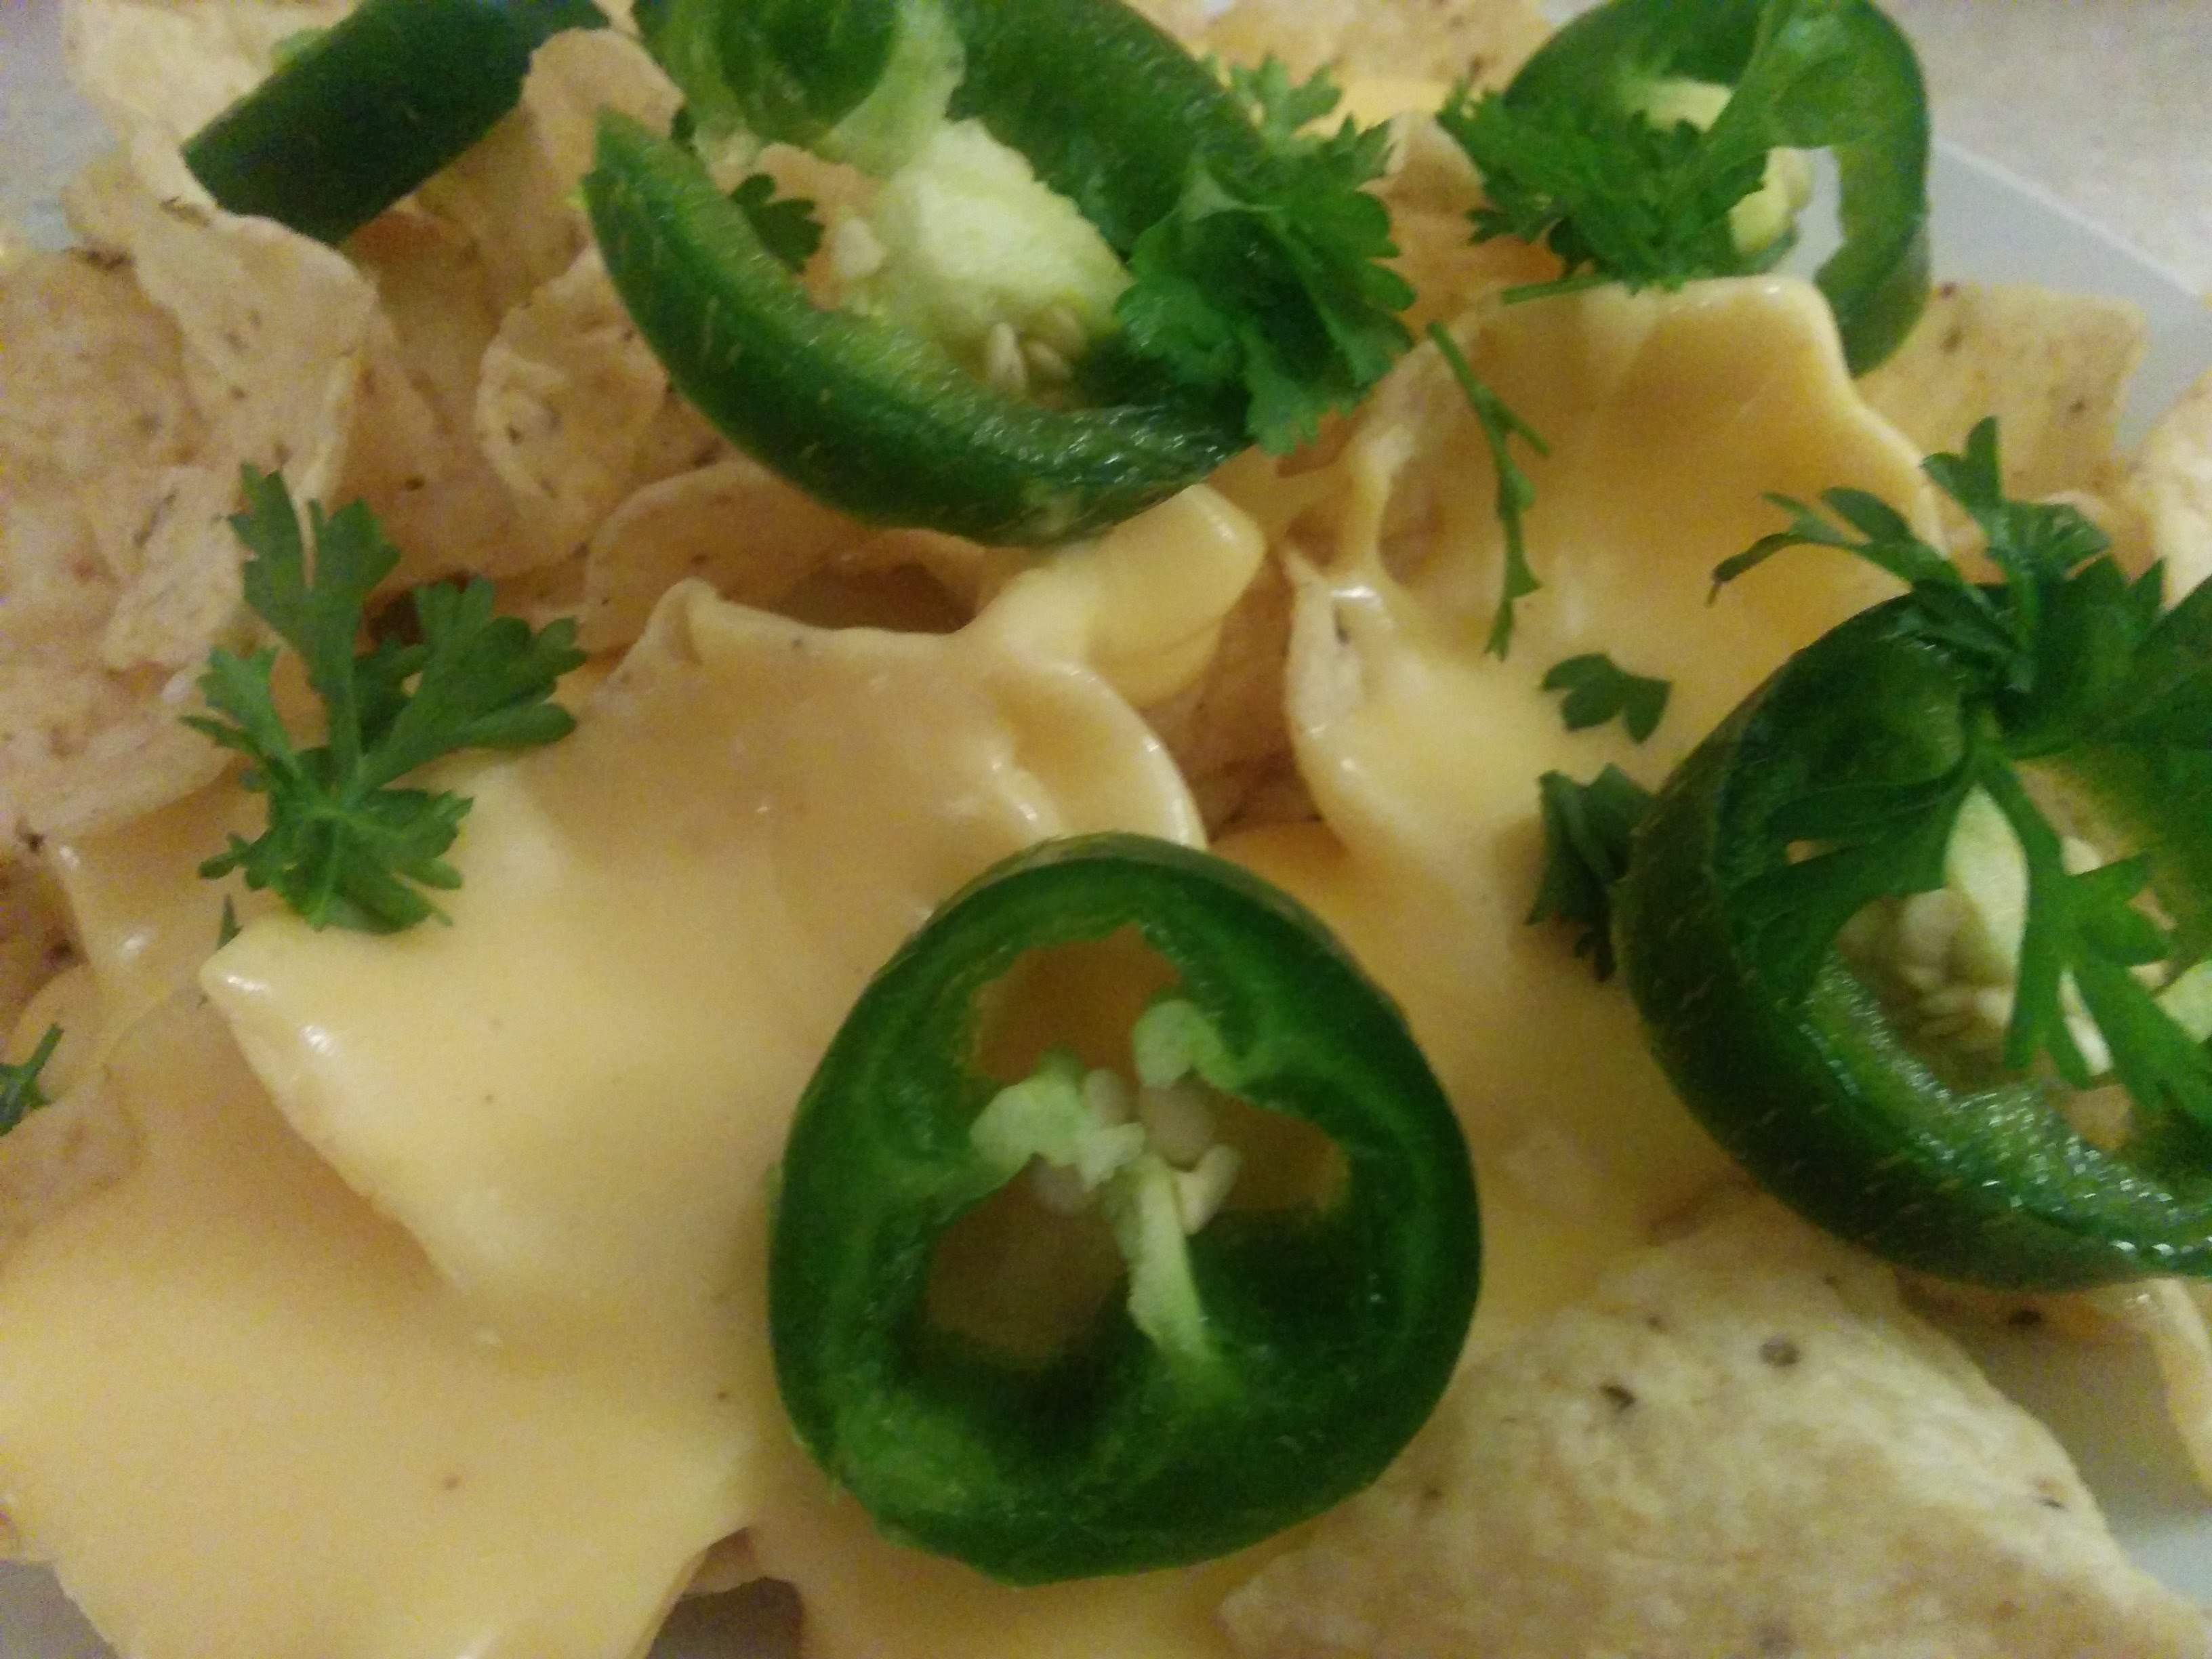
Here’s a recipe for classic amusement park nachos

Amusement Park Nachos
Write a review
Print
Prep Time
10 min
Cook Time
15 min
Total Time
25 min
Prep Time
10 min
Cook Time
15 min
Total Time
25 min
Ingredients
  1. 2 tablespoons butter
  2. 2 tablespoons all-purpose flour
  3. 1 cup milk
  4. 1/4 c Cheddar Cheese (shredded)
  5. 6 slices processed American cheese
  6. 1/2 teaspoon salt
Instructions
  1. In a medium saucepan over medium heat, melt butter and stir in flour.
  2. Pour in the milk and stir until the mixture thickens.
  3. Stirring constantly, mix in cheese and salt. Continue to cook and stir until cheese has melted and all ingredients are well blended, about 15 minutes.
Disney Meals http://disneymeals.me/

Pepperoni Pizza

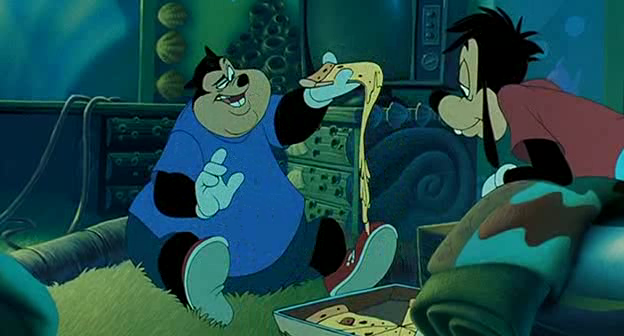
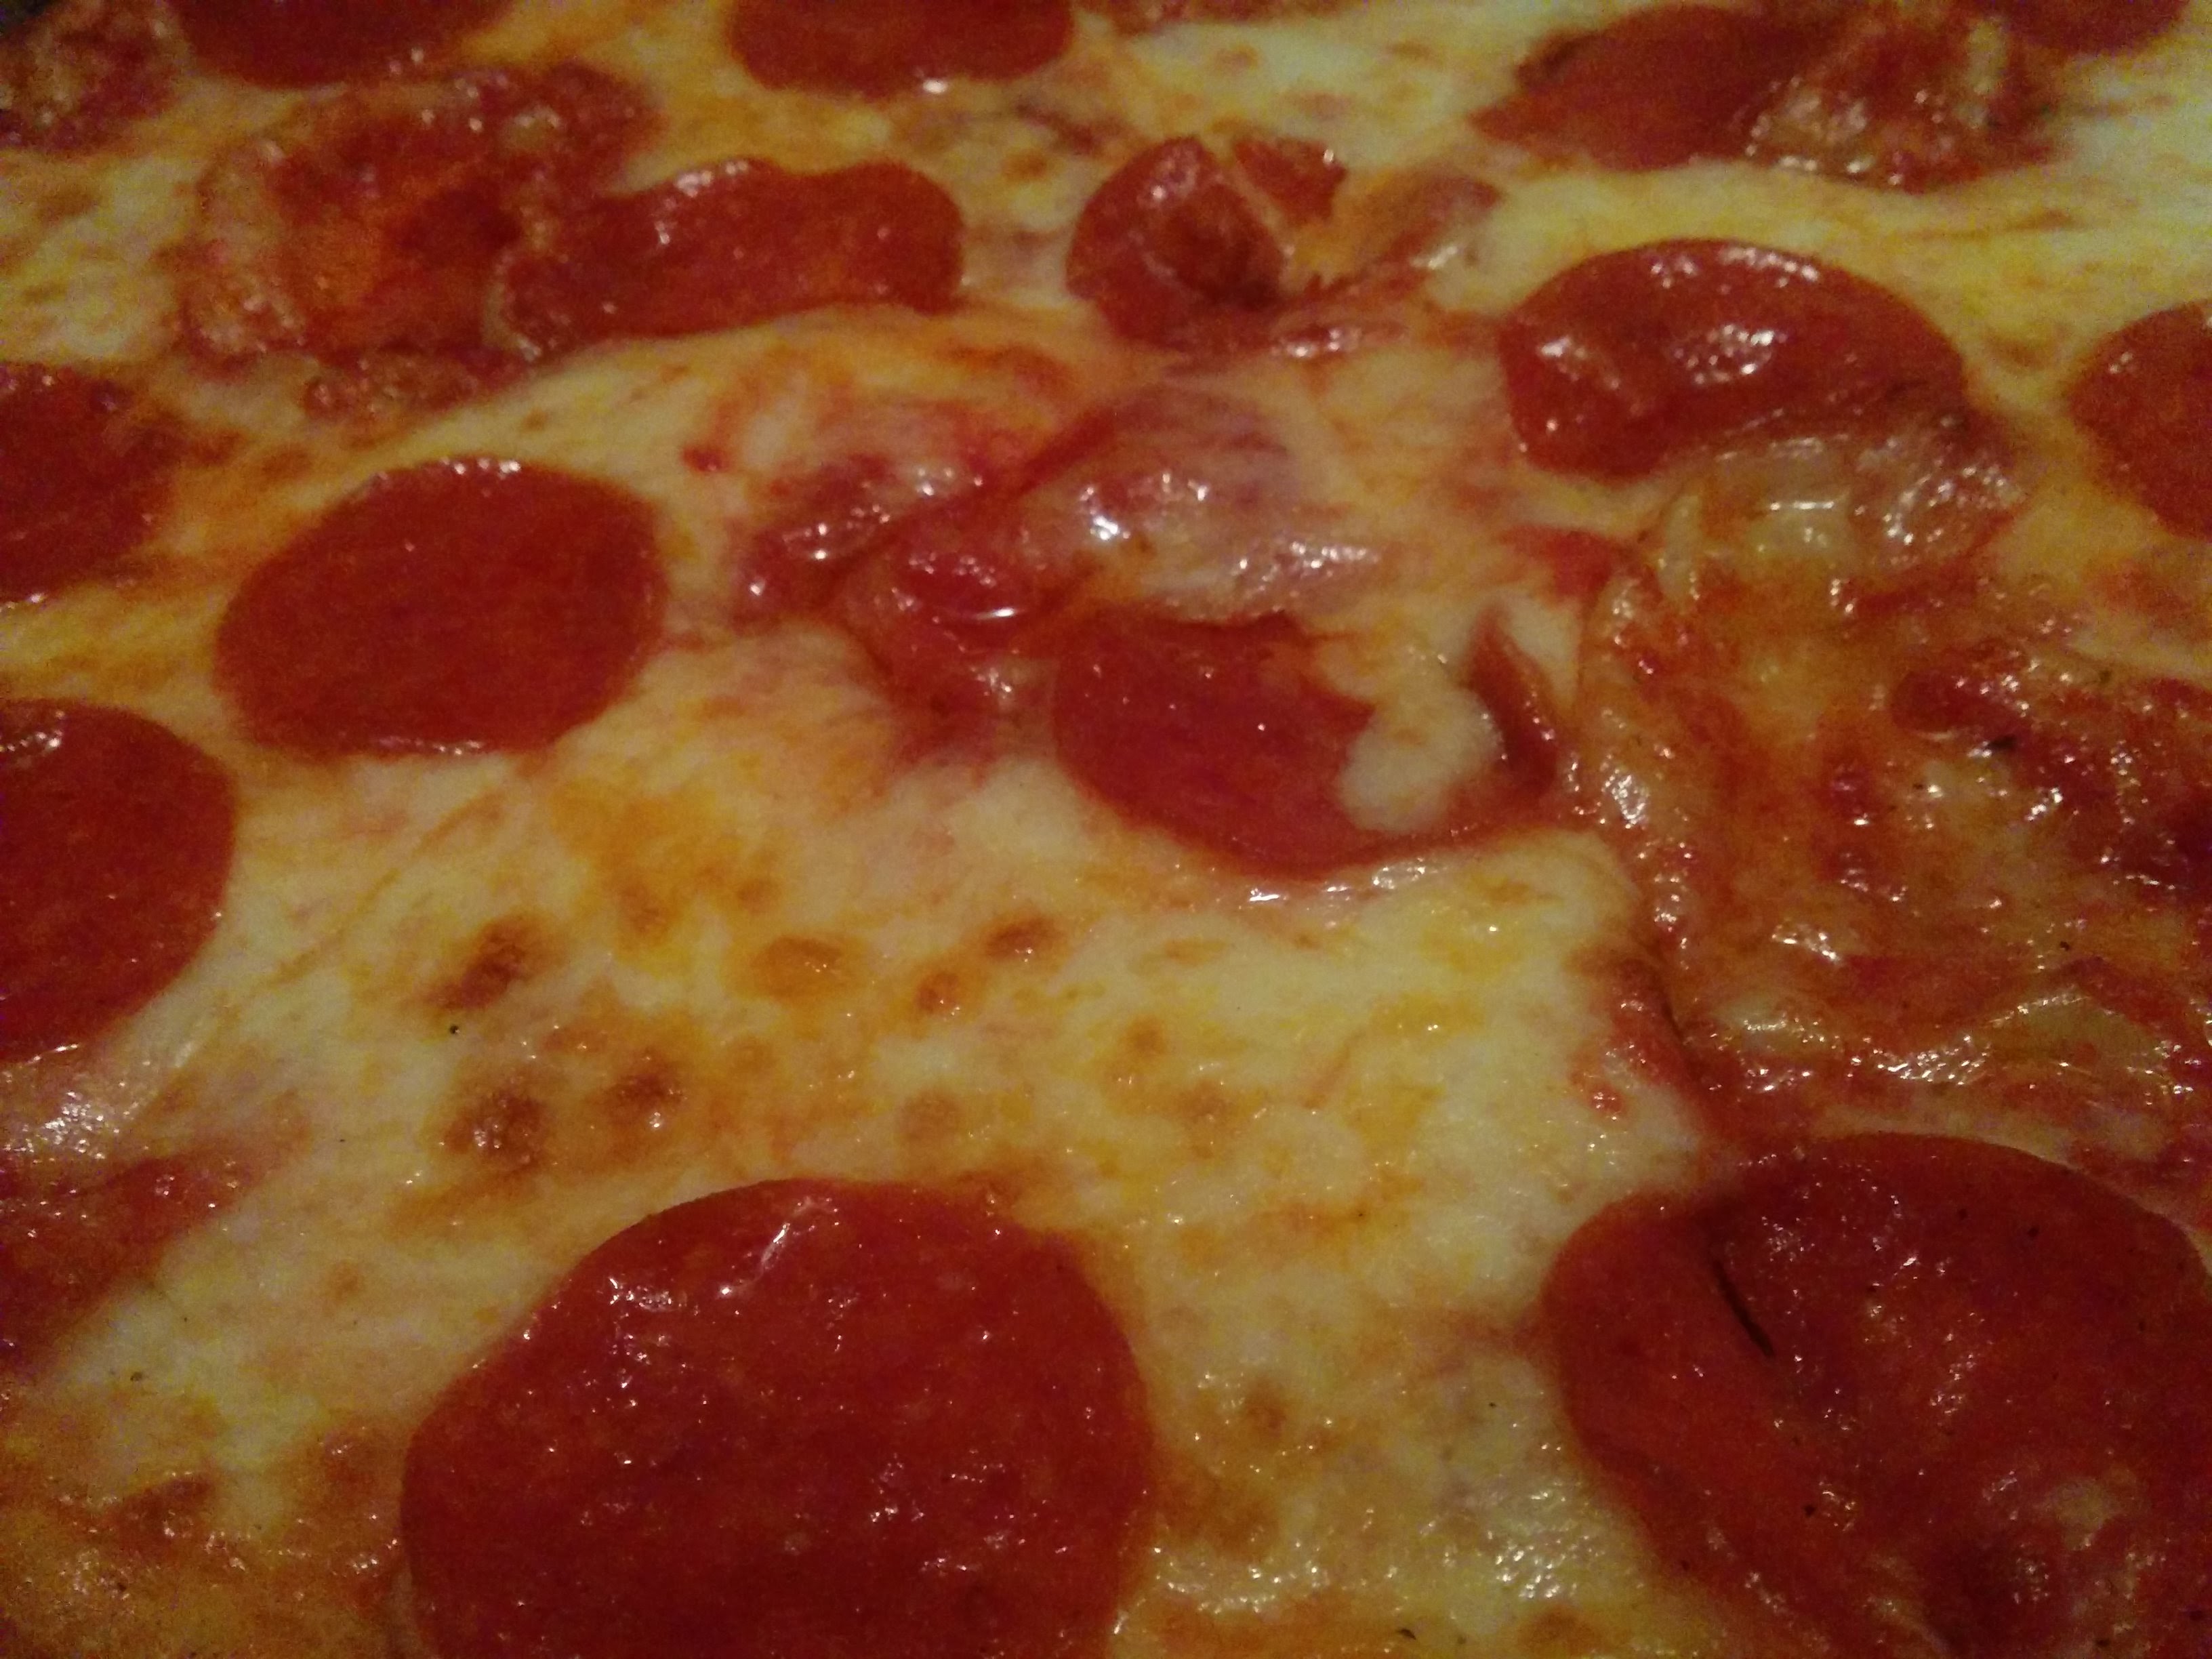
The last food shown is a pepperoni pizza that the adults buy Max and PJ.

vlcsnap-2015-11-04-08h05m19s751

I have a great recipe on how to get a similar pizza.

Order Out Pepperoni Pizza
Write a review
Print
Prep Time
2 min
Prep Time
2 min
Ingredients
  1. Phone or internet
  2. Fingers
  3. Voice
Instructions
  1. Pick up a phone and call your favorite pizzaria (or go online to their website if available)
  2. Tell the person on the other line that you want a pepperoni pizza with extra cheese
  3. Give them your address and wait ~30 minutes
  4. When the delivery person comes with your food, tip them and bring the pizza inside
  5. Enjoy pizza
Disney Meals http://disneymeals.me/

Will it make you Stand Out, Above the Crowd?

No real sugary food this week, which was good, but all of the food was junk food-ish, which was delicious. haha. I want to start a leaning tower of cheesa competition. I think it’s better than the gallon challenge or the cinnamon challenge.

Verdict:

Leaning Tower of Cheesa - 5/10 (once you get past the gagging)

Steak - Flavor: 8/10, cut of meat: 4/10

Hi Dad Soup - 6.5/10

Eggs and bacon - 7.5/10

Pancakes - 7/10 (I think I needed to add more flour)

Chili dog - 8/10 (make sure to use good hot dogs )

Nachos - 7/10

Pizza - 9/10

0

Nightmare Before Christmas - Snake and Spider Stew, Halloween Candy Canes, Sugar Cookies, Worm’s Wort Soup, Gingerbread Cookies, Hot Chocolate, and Pineapple Upside-down Cake

Welcome ghouls and goblins to the Halloween special of Disney Meals. We’re taking a break from our normal Walt Disney Studio’s animation and looking at Tim Burton’s Nightmare Before Christmas–a Halloween and Christmas classic. So go gather some spiders and severed limbs and get ready for some spooky treats!

4

Lion King - Zebra (kinda), Bug Grub (& Gummy Worms), Baobab Fruit, Hawaiian Pig

Lion King is my all-time favorite Disney movie. It is even in my top 5 movies of all time, any genre. That said, I was not super excited to eat the food from the movie. I don’t have the strong will that Simba has to slurp down a giant grub. But Hakuna Matata!

0

Beauty and the Beast [Week 4] – Tourin, Roasted Artichoke, Tiramisu, Bundt Cake with Chocolate Ganache, and Green Jello Salad

It’s a sad day, the last day of our Beauty and The Beast extravaganza. This week, all the food comes from Tale as Old as Time.

0

Beauty and the Beast [Week 3] – Faux Pink Champagne, Green Jello, 5 cakes (French Chocolate, Versatile Vanilla, Butter Pecan, Rainbow Cake, French Chocolate (again)), Berry Sorbet, Green Pistachio Cupcakes, Strawberry cake, strawberry mousse

Onto week three! This is the second half of one of my favorite songs in the Disney-verse, Be Our Guest. It’s basically a bunch of cakes!

3

Beauty and the Beast [Week 2] – The Grey Stuff, Custard, French Potato Soup, Crescent Rolls (sausage-filled and chocolate filled), Cream Cheese Pesto Spread, Salmon Pate, Misc Hors d’oeurves, Berry Pie, Beef Ragout, Cheese Souffle, Blueberry Box Pie En Flambe, Chocolate Pudding (mousse) en Flambe

Yay! Onto week two of Beauty and the Beast! This week will cover the first half of the Be Our Guest song. There is SO much delectable food this week, including the long awaited GREY STUFF!!!!! (Yes, before you go and ask the dishes, I’ll tell you that it is delicious). So relax, pull up a chair as DisneyMeals proudly presents, Beauty and the Beast pt 2.

0

Beauty and the Beast [Week 1] - Baker’s bread (Pumpkin bread, French Rolls and Baguettes), Pink French Yogurt Cake, Raw Eggs, and [ginger] beer

Bonjour! So this week is Beauty and the Beast. Lucky for you and us, there are TONS of foods shown in this movie. So instead of just one week dedicated to the movie, you get FOUR! This week covers from the start until Be Our Guest. Be Our Guest itself will be divided into two weeks and then we’ll do one of Be Our Guest and onward. So now we invite you to relax, let us pull up a chair as Disney Meals proudly presents - Beauty and the Beast!